General Contracting
4 Basement Subfloor Options for Homeowners: Check Moisture First
By Noah Spagnotti

For most basements, the realistic subfloor choices come down to four systems: air-gap membrane panels, sleeper systems, floating plywood or OSB over rigid foam, and insulated floating toppings. The system that matters less than the material is the moisture plan underneath it: a subfloor that cannot manage water or let a slab dry will fail no matter how it's built. If you've had leaks, see high humidity, or have less than standard headroom, bring in a contractor before you buy materials.
TL;DR:
Air gap panels suit incidental dampness but not standing water or hydrostatic pressure; sleepers level uneven slabs and support solid hardwood, though they add height.
Building Science guidance favors drainage, capillary breaks, and assemblies that permit inward drying; interior polyethylene can trap moisture instead of preventing it.
Measure finished height before ordering: panels add a fraction of an inch, while sleepers may add inches and affect door clearance, stairs, and thresholds.
Test the slab and inspect leak stains, efflorescence, and musty odors; repair drainage problems before installation, and budget for remediation if testing finds moisture.
When a slab is poured over a vapor barrier, sand or loose fill between the barrier and the concrete can trap water and contribute to flooring failures.
1. Common basement subfloor systems and when each fits
Each of these systems solves a different combination of moisture, comfort, and finish compatibility.
Air-gap membrane panels, like DRICORE subfloor panels, use a dimpled plastic base under an OSB top layer to create a small air space above the slab, which raises floor temperature and handles incidental dampness. They're homeowner-friendly to install and work under carpet, laminate, or engineered wood, but they're not built to fight standing water or a hydrostatic pressure problem.
Sleeper systems use pressure-treated wood strips laid over the slab, often with rigid foam between them, to create a level nailing surface for finish flooring. They add real floor height (often more than panel systems) and work well where the slab is uneven or where a heavier finish, like solid hardwood, needs a true nailing base.
Floating plywood or OSB over rigid foam sandwiches XPS or EPS insulation between the slab and a structural panel, giving good thermal performance without fasteners into the concrete. This assembly suits engineered wood and luxury vinyl plank and tends to perform well when detailed to allow some inward drying, per Building Science guidance on interior insulation.
Insulated floating toppings or slab-mounted radiant systems are a heavier-duty, more permanent option, typically reserved for radiant heat installations or basements intended as full living space.
Whatever system you pick, avoid laying finish flooring directly on bare concrete. Concrete wicks moisture and stays cold, which invites condensation, buckling, and mold growth under the finish layer.
2. Moisture control rules that determine the right subfloor
Basement subfloor decisions come down to one hygrothermal principle: manage water at the source and let the assembly dry inward when it needs to. Building Science Corporation's BSI-125 guidance recommends drainage-first strategies and capillary breaks over relying on an impermeable interior vapor barrier, because a sealed interior layer traps whatever moisture gets in and gives it nowhere to go.
Interior polyethylene vapor barriers can trap moisture rather than stop it, according to BSD-103, which favors foam-based interior insulation detailed to permit some inward drying.
That means an assembly with an air gap, like a panel system, or one built with semi-permeable rigid foam, is usually the safer bet over fully sealed plastic sheeting. Before choosing anything, run a basic moisture check: look for past leak staining, test slab moisture, and confirm your sump pump and exterior grading are actually working. Fixing drainage problems comes before any subfloor decision, not after.
3. How to choose: checklist and contractor questions
Use this order to narrow your options before you commit to a system or a contractor.
Check moisture history and test the slab. Look for stains, efflorescence, or musty odors, and consider a simple calcium chloride or moisture meter test.
Measure headroom. Confirm how many inches you can give up before your ceiling height becomes a code or comfort issue.
Decide on finish flooring first. Engineered wood, LVP, carpet, and tile each pair better with certain assemblies.
Set insulation goals. A colder climate basement benefits more from a foam-based assembly than a simple panel system.
Set a realistic budget, including a contingency for moisture remediation if testing turns up a problem.
Be honest about DIY skill. Panel systems are approachable for homeowners; sleeper and floating foam systems reward experience with layout and leveling.
Ask any contractor three things: what's included if moisture remediation is needed, what the ventilation or dehumidification plan looks like after installation, and how the new floor height affects doors and stairs.
Pro Tip: Always address standing water or drainage issues first, then pick an assembly that allows drying, and only then choose your finish floor.
4. Installation considerations and common pitfalls to avoid
Finished floor height is the detail that trips up the most homeowners. Panel systems typically add a small fraction of an inch, while sleeper systems can add a few inches once you include the sleepers and finish material. That difference changes door swing clearance, stair riser height, and transition thresholds into adjoining rooms, so measure before you order anything.
Check door clearances against the new floor height before installation day.
Plan stair riser adjustments if the first step height changes.
Seal foundation penetrations and plan for a dehumidifier or ventilation path as part of the install, not an afterthought.
One mistake shows up often enough that it deserves its own warning: when a slab is poured over a vapor barrier, there should be no sand or loose granular fill between the barrier and the concrete. Building Science's review of concrete floor problems found that a sand layer there can hold water against the slab, which leads to flooring failures. If you're planning new slab work as part of the project, the vapor barrier should sit in direct contact with the concrete.
Pro Tip: Before ordering materials, do a dry run: measure finished height at three points in the room, since basement slabs are rarely perfectly flat.
5. Typical cost ranges and budgeting for each option
Costs vary by region, slab condition, and finish choice, but the systems scale roughly by complexity and material thickness.
Air-gap panel systems tend to be the least expensive per square foot and the fastest to install.
Sleeper systems cost more due to added lumber, leveling labor, and sometimes foam insulation between sleepers.
Floating plywood or OSB over rigid foam sits in the middle, with cost driven mainly by foam thickness.
Insulated floating toppings or radiant-ready assemblies cost the most, reflecting added materials and specialized labor.
The main cost drivers across all four systems are moisture remediation (if testing reveals a problem), insulation thickness, whether you hire labor or do it yourself, and your finish flooring choice. A sand layer under a vapor barrier is a documented cause of finish failure, according to Building Science's BSI-003 insight, which is a reminder that skipping proper moisture prep to save money often costs more later in repairs. Budget a contingency for drainage fixes before finalizing your subfloor line item, since that's the expense most likely to surprise homeowners mid-project. For sequencing and budgeting across a full renovation, our home renovation budget breakdown walks through how to plan line items and contingency.
6. Contractor perspective: what we check before recommending a subfloor
Before we recommend any system, we look for evidence of past leaks, test how level the slab actually is, confirm available headroom, and ask what finish flooring you want so the assembly matches it. That sequence avoids picking a subfloor that looks right on paper but fights the room's real conditions.
Basement finishing proposals often break the project into clear phases: moisture remediation if needed, the subfloor assembly itself, finish flooring and trim, and a schedule that keeps subcontractors coordinated so trades aren't stepping on each other. If the basement will become conditioned living space, we also factor in permit requirements and combustion-safety checks for any gas appliances in the space, since tightening up the envelope can change how those appliances vent. Our basement waterproofing guidance covers why we treat that remediation step as non-negotiable before subfloor work begins.
7. How subfloor choice affects indoor air quality and mold risk
The subfloor you choose has a direct effect on whether moisture turns into a mold problem later. An assembly that traps water against an impermeable layer, like plastic sheeting laid loosely under a plywood subfloor, creates a hidden, dark, damp cavity that's close to ideal for mold growth. That's part of why Building Science's research favors foam-based interior assemblies detailed to allow inward drying rather than sealed polyethylene barriers.
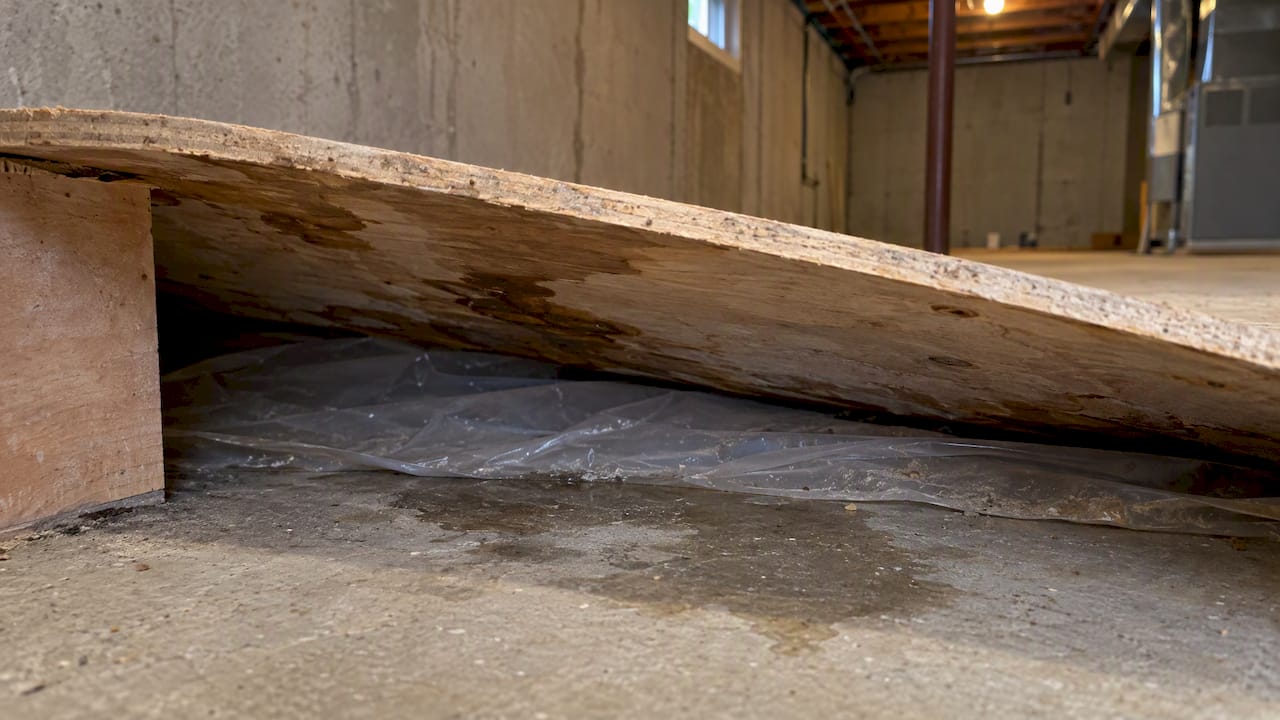
Air-gap panel systems address this differently: by lifting the finish floor off the slab entirely, they let any incidental moisture evaporate into the gap and vent rather than sit trapped against organic material like OSB or carpet pad. Sleeper systems without any foam or membrane layer are the riskiest option in a damp basement, since bare wood sleepers sitting on or near a damp slab can absorb moisture directly.
Whatever system you choose, plan for a dehumidifier or mechanical ventilation in the finished space, since basements naturally run more humid than the rest of a home. Sealing foundation penetrations before installation also matters, since gaps around pipes or wiring are common entry points for both moisture and soil gas. A subfloor that manages water well protects the floor itself and the air quality in the room above it.
8. Local building codes and permit considerations
Permit requirements for a finished basement vary by jurisdiction; in Omaha, check with the City of Omaha Permits & Inspections before you start, especially if the project adds a bathroom, bedroom, or wet bar. Most municipalities require permits when a basement adds habitable space, since that triggers egress, electrical, and sometimes insulation code requirements tied to the subfloor and wall assembly.
If your project adds a gas-burning appliance or changes how your home is sealed, ask whether a combustion-safety check is needed, since a tighter envelope can change how existing appliances vent. The City of Omaha Permits & Inspections can tell you what inspections your scope requires. Working with a licensed, insured contractor helps keep the permit process on track, since missed inspections or undocumented work can create problems later when you sell the home.
9. Timeline expectations and project phases
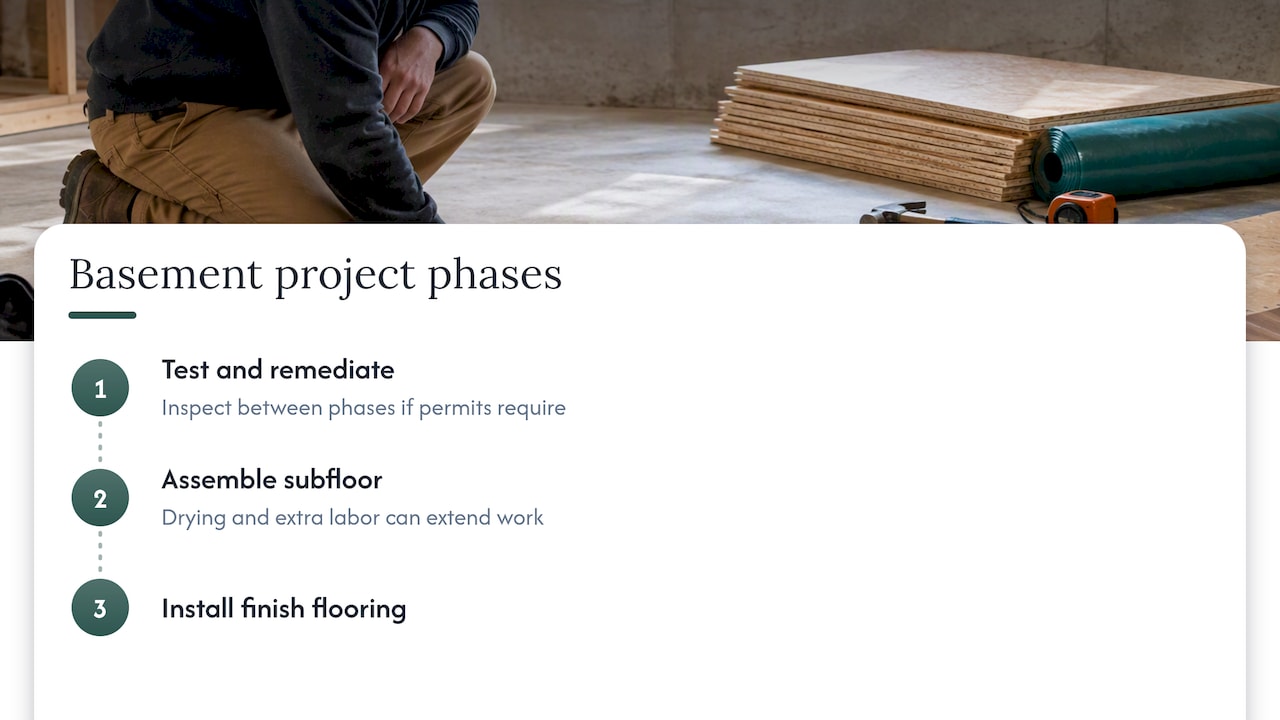
A basement subfloor installation generally follows a few distinct phases: moisture testing and remediation first, then subfloor assembly, then finish flooring, with inspections sometimes required between phases depending on your permit scope. A simple panel system over a dry, level slab can move quickly, while a sleeper system or a full insulated topping with remediation work takes longer because of drying time and additional labor steps.
Weather, slab condition, and whether remediation work is needed all affect how long a project actually takes, which is why an accurate timeline usually comes from an on-site assessment rather than a general estimate. Our basement finishing timeline walks through what a phased project typically looks like from first walkthrough to final flooring.
What homeowners get wrong about basement subfloors
The most common mistake isn't picking the wrong system, it's picking a system before confirming the basement is actually dry enough for it. Homeowners often shop subfloor products first and treat moisture testing as a formality, when it should be the first decision that shapes everything else.
Conventional advice tends to oversell interior vapor barriers as a fix for damp basements, when the building-science consensus leans the opposite way: an assembly that allows some inward drying generally outperforms one that seals moisture in. The products matter less than most buying guides suggest. A panel system, a sleeper system, and a floating foam assembly can all perform well in a dry basement and all fail in a wet one.
If you take one thing from this, prioritize the drainage and moisture test over the product comparison. Spend your research time confirming your sump pump, grading, and slab condition before you spend it comparing brands of subfloor panel.
— Noah
Basement finishing with a clear moisture-first plan
We finish basements with the moisture work handled first, not bolted on after a problem shows up. Our basement finishing scope covers everything from a lighter refresh to a full finish with a bathroom or wet bar, and every estimate spells out planning, communication checkpoints, and a schedule before work starts.
Service | Price |
|---|---|
$8,000-$18,000 total project | |
Standard Basement Finish | $25,000-$45,000 total project |
Full Finish with Bathroom or Wet Bar | from $45,000 total project |
Ready to see what your space needs? Request an on-site assessment through our basement finishing services page.
FAQ
What type of subfloor is best for a basement?
There's no single best subfloor for every basement; the right choice depends on moisture conditions, headroom, and your finish flooring. Air-gap panel systems work well for most dry-to-slightly-damp basements, while floating foam assemblies suit colder climates or engineered wood finishes.
Should you put a subfloor in a basement?
Yes, in almost every case, since bare concrete stays cold and holds moisture that can damage finish flooring and encourage mold growth underneath it. A subfloor, whether a panel system, sleepers, or floating foam, creates separation from the slab and improves comfort and durability.
What is the best underlayment for a basement floor?
An air-gap membrane panel system, such as DRICORE, is a common homeowner choice because it combines an air gap with a structural top layer in one product. For colder basements or engineered wood, rigid foam under plywood or OSB can add more thermal benefit.
What is the cheapest way to floor a basement?
Air-gap panel systems are generally the least expensive subfloor option since they install quickly without additional framing or sleepers. Keep in mind that skipping moisture testing to save money upfront can lead to far more expensive repairs later if drainage issues surface after the floor is installed.
Sources
Recommended
Dealing With Something Similar?
Every property is different, but if this sounds like what you’re seeing, we’re happy to take a look and help you figure out what’s actually going on.