General Contracting
Homeowners: 5 Contractor Checks to Pick Skim Coat or Drywall
By Noah Spagnotti
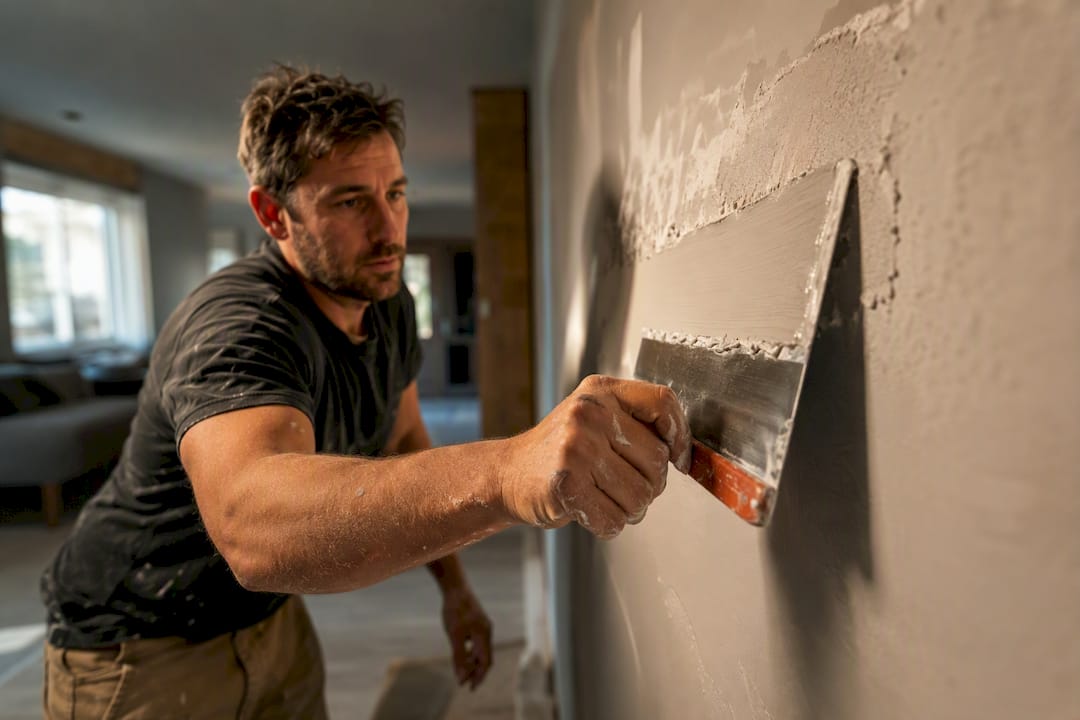
If the wall is structurally sound and the damage is cosmetic, skim coat it. If the board is soft, sagging, water damaged, or the problem spans whole walls or ceilings, replace the drywall instead. Skim coating gets you closer to a Level 5 finish on an existing surface, but it can't guarantee a truly flat substrate the way fresh board can. The checklist below tells you which category your wall falls into before you spend a dollar.
TL;DR:
Skim coating is suitable only for structurally sound walls with minor surface flaws, not for soft, sagging, or water-damaged drywall.
Achieving a Level 5 finish with skim coating requires multiple thin coats, priming, and careful surface preparation to avoid ridges and shadows.
Replacing drywall is the best option when boards are soft, sagging, moldy, or have large holes, offering a flat, durable, and long-lasting surface.
Skim coating generally costs less in materials but is labor-intensive, while replacement involves higher upfront material costs but is faster to install and finish.
Always assess wall condition with a press test and visual inspection before choosing, and consider professional help to ensure the proper repair approach.
Table of Contents
Skim Coat vs Drywall Replacement: The Quick Comparison
Skim Coating: Benefits, Limits, and Key Prep Steps
Replacing Drywall: When It's Necessary and What It Fixes
Cost, Time, and Disruption: What to Actually Budget
Decision Checklist: On-Site Checks Before You Choose
Process Overview: Prep, Steps, and Paint-Ready Timing
DIY vs Hiring a Pro: What to Ask Before You Sign
A Contractor's Take on Skim Coat vs Drywall
How Spagnotti Contracting Can Help With Your Walls
Sources
FAQ
Skim Coat vs Drywall Replacement: The Quick Comparison
A skim coat is a thin layer (or several) of joint compound spread over existing drywall to smooth texture, hide old repair lines, and reset the surface before painting. Drywall replacement means tearing out the damaged board entirely and hanging new sheets, which gives you a fresh, structurally sound substrate from scratch.
Here's how they stack up on the factors that actually matter to a homeowner:
Finish quality: Skim coating can approach a Level 5 finish on sound walls; new drywall reaches Level 5 only after taping, multiple mud coats, and often a final skim pass anyway.
Cost shape: Skim coating is cheap on materials but labor heavy; replacement costs more upfront for board and disposal but moves faster per square foot.
Time: Skim coating stretches over several thin coats with drying time between each; hanging new board is quicker to install but still needs multi-day taping and finishing.
Mess: Both create dust, but demo and disposal from replacement generate more debris and cleanup.
Longevity: Skim coat over a compromised substrate fails again; new drywall over a properly framed wall lasts the life of the house.
If you need showroom-glossy walls under bright lighting, plan on Level 5 techniques regardless of which base method you choose.
Skim Coating: Benefits, Limits, and Key Prep Steps
Skim coating solves one specific problem: a wall that's structurally fine but visually rough. That covers old texture you want gone, faint repair outlines that "ghost" through paint, or wallpaper removal scars. Pros lean on it because a thin, even layer of compound resets the surface so tape lines stop reappearing as flashing under satin or gloss paint.
It only works on a solid substrate. Skim coat over torn paper or leftover wallpaper adhesive and you'll get bubbling, peeling, or uneven absorption within weeks. That's why Family Handyman's guide recommends priming exposed paper with a surface sealer first, then applying at least two thin coats for consistency.
Works on: light texture, faint patch lines, wallpaper scars, minor surface wear.
Fails on: torn paper, unsealed adhesive residue, uneven porosity.
Pro Tip: Run your palm flat across the dry wall before you commit. If you feel ridges or shadows under raking light from a work lamp, that's exactly what a skim coat is built to erase.
Replacing Drywall: When It's Necessary and What It Fixes
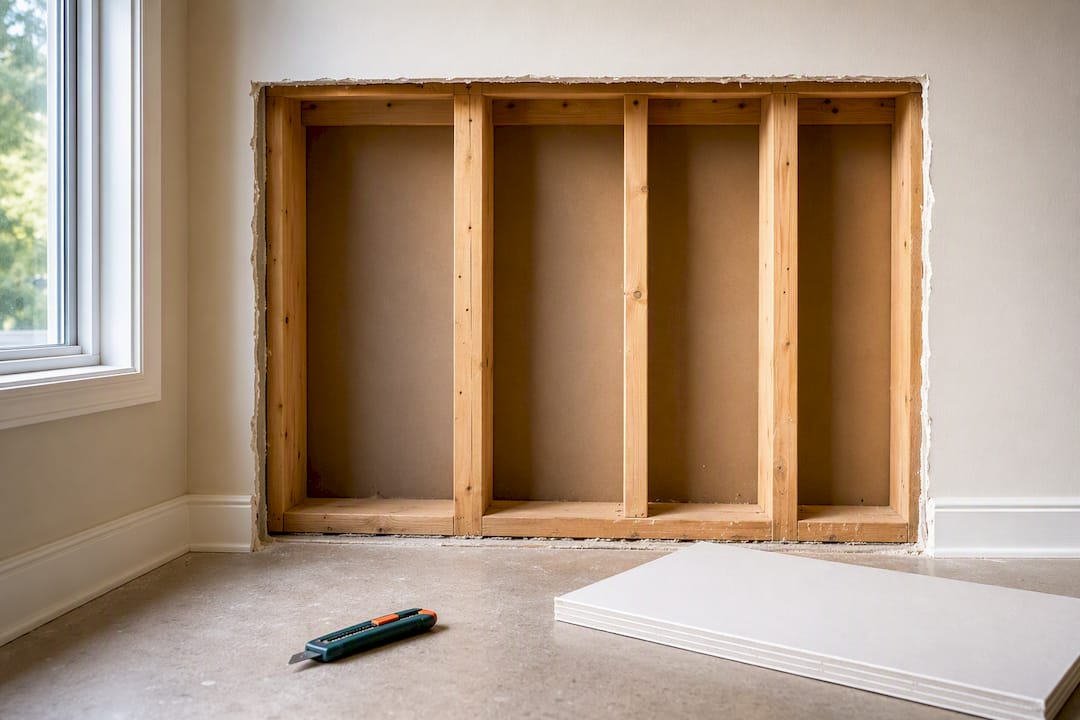
Some walls are past the point where compound can help. Soft spots that give under thumb pressure, visible sagging between studs, active mold, or holes larger than a dinner plate all point to replacement, not repair. Water stains that keep returning after drying usually mean the paper backing has broken down, and trade guidance is consistent on this: skim coating a compromised board just delays the same failure.
Tearing out and rehanging gives you a flat, predictable substrate and opens the wall for insulation checks, wiring updates, or plumbing access you couldn't get otherwise, which is a common consideration in a comprehensive renovation.
Structural indicators: soft or spongy board, sagging, visible mold, holes beyond patch-size.
Benefits: reliable flatness, easier future repairs, access behind the wall.
Trade-offs: higher material and disposal cost, but a faster mechanical hang and a more predictable finishing timeline once new board goes up.
Cost, Time, and Disruption: What to Actually Budget
Skim coating keeps material costs low, since a bucket of joint compound covers a lot of wall. The real expense is labor: multiple coats, sanding between each, and drying windows you can't rush. Trade sources note that this labor intensity can push skim coating past the cost of new drywall on larger areas, even though the materials bill stays small.
New drywall flips that ratio. Board, screws, tape, and compound cost more, and you'll pay for a dumpster or disposal run. But hanging goes fast, and the finishing stages (tape, three coats, sand) follow a predictable rhythm room by room.
Skim coat: low material cost, high labor hours, several drying/sanding cycles.
Replacement: higher material and disposal cost, faster hang, staged finishing timeline.
Always price disposal separately. A dumpster rental can shift the total more than the board itself.
Decision Checklist: On-Site Checks Before You Choose
Walk the wall with these checks in order, and don't skip the press test even if the wall looks fine.
Press test. Push firmly on suspect areas. Give or sponginess means the board is failing, not just ugly.
Look for sagging or loose boards. Anything bowing between studs or pulling away from fasteners needs replacement.
Check for moisture stains and mold. Recurring stains or visible mold mean the paper backing is compromised. Replace it.
Gauge the extent of damage. Localized cosmetic flaws favor skim coat; damage spread across whole walls or ceilings favors a full tear-out.
Match the finish to the method. If you want a true Level 5, glass-smooth wall under bright light, budget the time either way. Skim coat gets there faster on sound walls; new drywall gets there more reliably on damaged ones.
Pro Tip: When in doubt, insist on opening a small section of wall before quoting the job. A two-minute look behind the surface saves both you and your contractor from guessing.
Lead paint check: If your home was built before 1978, its walls may have lead-based paint. Don’t sand, scrape, or demo painted surfaces until they’ve been tested; EPA recommends having a certified lead inspector or risk assessor test the surfaces you plan to disturb (EPA lead-safe guidance). Any contractor doing the work in a pre-1978 home must be certified and follow EPA’s lead-safe Renovation, Repair and Painting (RRP) rules.
Process Overview: Prep, Steps, and Paint-Ready Timing
Skim coating follows a set order: seal any torn paper, apply the first thin coat with a wide knife or roller, let it dry, sand lightly, then repeat for a second or third coat until the texture disappears. Lowe's step-by-step guidance covers mixing consistency and drying windows in more detail, and manufacturer instructions from USG's Sheetrock installation guide specify primer choices that equalize porosity before paint.
Skim coat sequence: seal, coat, dry, sand, repeat, prime.
Replacement sequence: demo, hang board, tape seams, apply multiple finishing coats, sand, and skim coat the whole surface if you want a true Level 5 result.
Surface is paint ready once sanding leaves no visible ridges under raking light and primer has fully dried.
DIY vs Hiring a Pro: What to Ask Before You Sign
Skim coating rewards patience more than muscle, but a shaky hand with the knife leaves ridges that show under paint. Amateurs typically over-thin the compound or rush the drying time between coats, which is the most common cause of a lumpy finish. Replacement work demands more equipment (lifts, screw guns, cutting tools) and carries higher risk if framing or wiring gets disturbed.
Whichever route you choose, ask any contractor:
How many skim coats are included, and what primer will they use?
Who handles debris removal and disposal?
What warranty applies to the finished work?
A Contractor's Take on Skim Coat vs Drywall
Substrate integrity comes first, every time. A gorgeous skim coat over a water-damaged board is a problem you'll pay for twice. When the wall is sound and the issue is cosmetic, skim coating is the smarter, cheaper move. When you see soft spots, mold, or sagging, stop debating finish quality and start planning a tear-out. If you're unsure which category your wall falls into, that's worth an in-person look before you spend on either approach.
— Noah
How Spagnotti Contracting Can Help With Your Walls
Professional contractors handle both sides of this decision for homeowners: drywall installation and repair, skim coating on sound substrates, and the interior painting that follows once walls are paint ready. That means one crew evaluates your wall, tells you honestly whether it needs a skim coat or a full drywall repair or replacement, and carries the job through primer and paint without handing you off between separate contractors.

An on-site estimate typically includes a press test on suspect areas, a look at moisture history, and an answer on timeline, whether that's a few days of skim coating and drying or a full tear-out and rehang. If your walls have you second-guessing which fix is right, request an estimate and get a clear answer before you spend a dollar on materials.
Sources
FAQ
What Are the Downsides of Skim Coating?
Skim coating is labor intensive, requires multiple thin coats with drying time between each, and fails if applied over torn paper, adhesive residue, or a structurally compromised board.
Should I Skim Coat or Replace Drywall?
Skim coat if the wall is structurally sound and the damage is cosmetic, like texture or old patch lines. Replace the drywall if you find soft spots, sagging, mold, or recurring moisture stains.
Can I Paint Directly Over Skim Coat?
No. Prime the dried, sanded skim coat first, ideally with the primer type your finishing product calls for, since unprimed compound absorbs paint unevenly and can cause flashing under sheen finishes.
Can a Beginner Skim Coat a Wall?
A patient beginner can manage small, sound areas, but even coverage across a whole room takes practice. Rushed drying or over-thinned compound are the most common amateur mistakes, and a professional crew from a service like Spagnotti Contracting's drywall repair team avoids both.
Recommended
Dealing With Something Similar?
Every property is different, but if this sounds like what you’re seeing, we’re happy to take a look and help you figure out what’s actually going on.