General Contracting
Drywall vs Plaster Walls: Which One Fits Your Project?
By Noah Spagnotti
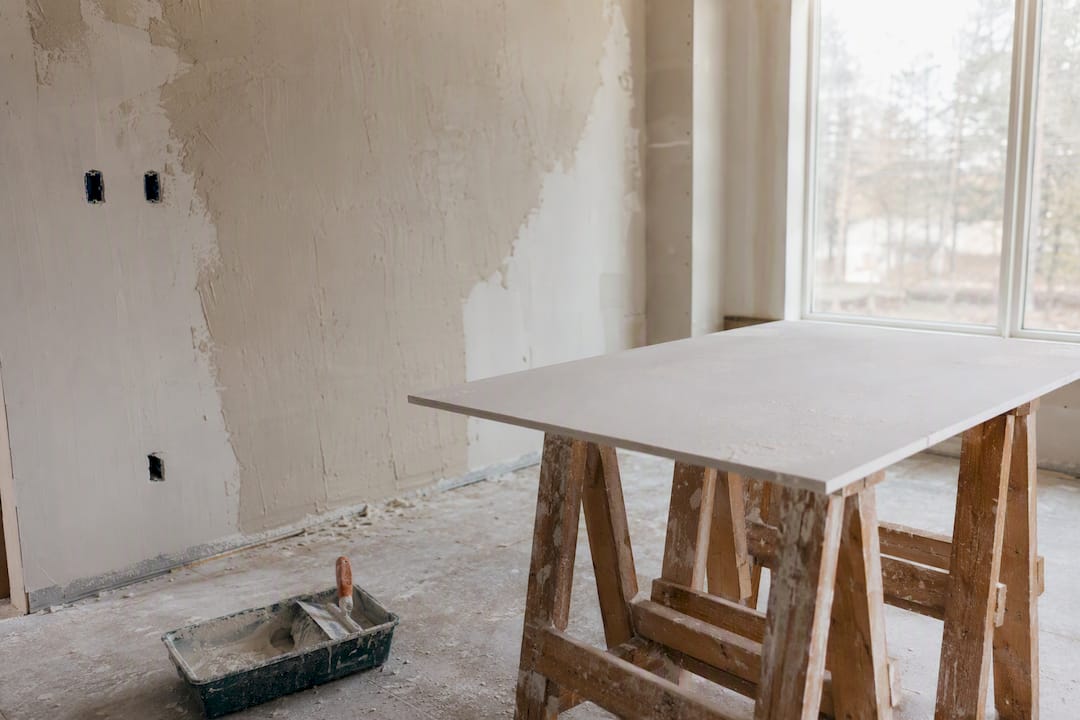
For most homeowners, drywall is the practical choice: it costs less, goes up faster, and repairs are simple. Plaster costs more upfront but delivers harder walls, better sound dampening, and a solid, old-world feel that drywall struggles to match. The right pick depends on what you’re solving for.
Choose drywall if: you want speed, a lower bill, and repairs you (or a contractor) can knock out in a day.
Choose plaster if: you’re restoring a historic home, want superior soundproofing, or care more about long-term hardness than upfront cost.
Below, you’ll find the tests to identify what’s on your walls right now, sourced cost ranges, realistic timelines, and what a contractor actually checks before writing a bid.
Key Takeaways
Drywall wins on cost and speed for most remodels, while plaster earns its premium through durability, soundproofing, and repair complexity that favors specialist attention.
Point | Details |
|---|---|
Identify before you budget | Use the pushpin, outlet cutout, and knock tests to confirm your wall material before requesting bids. |
Cost gap is labor-driven | Drywall runs about $1.50 to $3.50 per square foot; plaster runs $2 to $10 or more due to skilled multi-coat labor. |
Timelines differ sharply | Drywall can finish in one to three days; conventional plaster needs multiple coats plus days of cure time. |
Recurring cracks need a specialist | Hairline plaster cracks can signal lath separation or settlement, not just cosmetic wear. |
Get itemized local bids | Spagnotti Contracting inspects moisture, lath condition, and box depth before quoting drywall or plaster work in the Omaha metro area. |
Table of Contents
Drywall vs Plaster Walls: A Side-by-Side Breakdown
How Can You Tell if Your Walls Are Plaster or Drywall?
How Much Does Drywall vs Plaster Cost?
How Long Does Each Installation Take?
What Does Long-Term Repair and Maintenance Look Like?
Which Wall Material Fits Your Project?
What Should a Contractor Check Before Writing Your Bid?
What Actually Matters Once You’ve Read the Comparisons
Get a Local Estimate for Your Drywall or Plaster Project
Sources
Drywall vs Plaster Walls: A Side-by-Side Breakdown
Drywall is a manufactured gypsum board wrapped in paper facing, screwed or nailed to wood or metal studs, then taped and mudded at the seams. Plaster is a wet, multi-coat system, traditionally three coats troweled over wood, metal, or gypsum lath, though many post-war homes used a simpler two-coat approach over rock lath.
That construction difference shows up the moment you start measuring. Drywall panels run a consistent 1/2 inch or 5/8 inch thick. Plaster walls, lath included, often measure 3/4 inch to a full inch or more, which is why older homes sometimes have deeper window reveals and why outlet boxes can sit slightly recessed compared to a modern build.
Finish and feel:
Drywall gives you a flat, uniform surface that’s easy to texture, skim, or leave smooth for a contemporary look.
Plaster produces a denser, harder surface, often with subtle hand-troweled variation that many buyers associate with older, higher-end homes.
Veneer plaster, a thin, hard-troweled finish over a special basecoat rather than a full three-coat system, splits the difference: harder and more monolithic than drywall, with a much shorter dry time than conventional plaster.
Durability and performance:
Plaster resists dents, impacts, and everyday wear-and-tear better than drywall, and its density gives it a natural edge on sound insulation and fire resistance.
Drywall is more forgiving to work with and repair, but softer, which means door handles, moving furniture, and kids with backpacks leave marks faster.
Neither wins on every category. Drywall is the industry standard because it’s faster and cheaper; plaster earns its premium through durability and acoustic performance that drywall alone doesn’t deliver.
How Can You Tell if Your Walls Are Plaster or Drywall?
You don’t need a contractor to figure out what’s behind your paint. A few five-minute checks will tell you almost everything.
Try the pushpin test. Push a thumbtack into an inconspicuous spot, like behind a picture frame. It sinks easily into drywall but meets firm resistance against solid plaster.
Pull an outlet or switch cover. With the power off, remove the cover plate and look at the cross-section around the box. Plaster reads noticeably thicker than drywall, and you may spot strips of wood lath or a rough scratch coat behind it.
Knock on the wall. A hollow, drum-like sound usually means drywall over an air gap at the studs. A dense, solid thud with almost no vibration usually means plaster.
Check your home’s build year. Homes built before the 1950s were almost always plastered. Drywall took over as the standard by the 1960s and 1970s, so a mid-century build or later is very likely drywall unless it’s been renovated with plaster deliberately.
Pro Tip: Test more than one wall. Additions, remodeled rooms, and repaired sections often mix materials, so the kitchen might be drywall while the original living room is still plaster over lath.
How Much Does Drywall vs Plaster Cost?
Drywall runs roughly $1.50 to $3.50 per square foot installed, while plaster runs $2 to $10 or more per square foot, largely because it demands skilled labor and multiple coats instead of a panel and a bucket of joint compound.
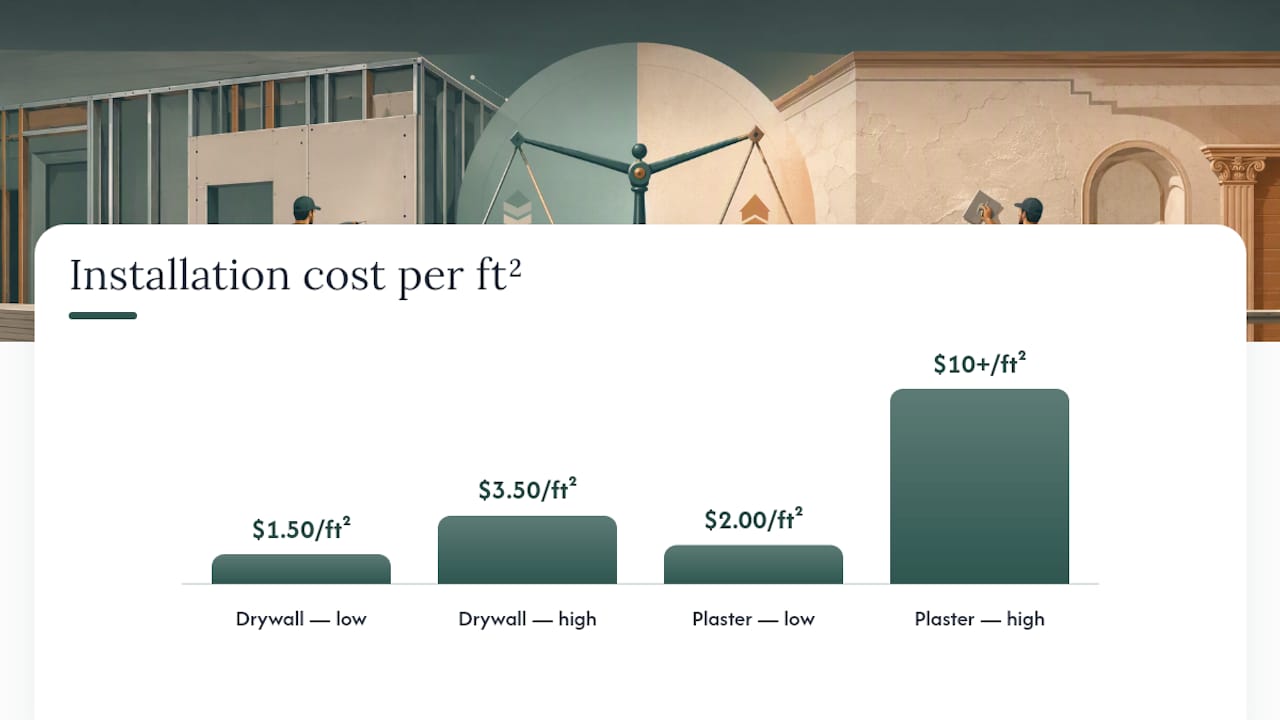
That gap isn’t really about materials. Gypsum board itself is cheap. What you’re paying for with plaster is time on the wall and a tradesperson who knows how to trowel a level scratch, brown, and finish coat without leaving flaws.
What pushes costs up on either side:
Labor rates in your market (plaster tradespeople are scarcer than drywall installers in most cities)
Finish level, since a smooth Level 5 drywall finish costs more than basic texture
Demolition and disposal, especially if old plaster and lath have to come out first
Hidden repairs uncovered once the wall is opened up, like rotted framing or old wiring
To put those ranges in perspective: patching a small drywall hole might run $75 to $250 for a professional visit. A full room of new drywall in an average bedroom could land in the low thousands depending on finish. A comparable room finished in conventional plaster can easily run two to three times that, and replacing failing plaster with drywall is often the more cost-effective long-term move once repeated patch jobs stack up.
Moisture damage, lath that needs full replacement, or an electrical update mid-project will push either budget higher, but plaster feels the hit harder since opening a plaster wall to fix wiring means redoing multiple coats, not just one drywall patch.
How Long Does Each Installation Take?
Drywall follows a predictable five-step sequence: hang the panels, tape the seams, apply joint compound, sand smooth, then prime and paint. A single room can go from bare studs to paint-ready in one to three days, depending on how many coats of mud and how smooth a finish you want.
Plaster takes longer by design. Here’s the typical sequence for a conventional job:
Prep or replace the lath if it’s damaged or missing entirely.
Apply the scratch coat and let it set.
Apply the brown coat for buildup and flatness.
Apply the finish coat for the final smooth or textured surface.
Allow the full assembly to cure, which can add several days to a week before painting.
Veneer plaster shortens that timeline considerably since it skips the multi-coat buildup, but it still needs a specialized basecoat and a plasterer who knows the material.
DIY versus calling a pro: Hanging and taping drywall is genuinely doable for a motivated homeowner, especially in a garage or closet where a slightly imperfect seam won’t stand out. Plastering is a different story. Getting a scratch coat to key properly into lath, or feathering a finish coat without visible trowel marks, takes practice most homeowners don’t have time to build. Sequencing also matters either way: painters, flooring crews, and trim carpenters all need the wall finished and fully dry before they start, so a rushed plaster cure can delay every trade behind it.
What Does Long-Term Repair and Maintenance Look Like?
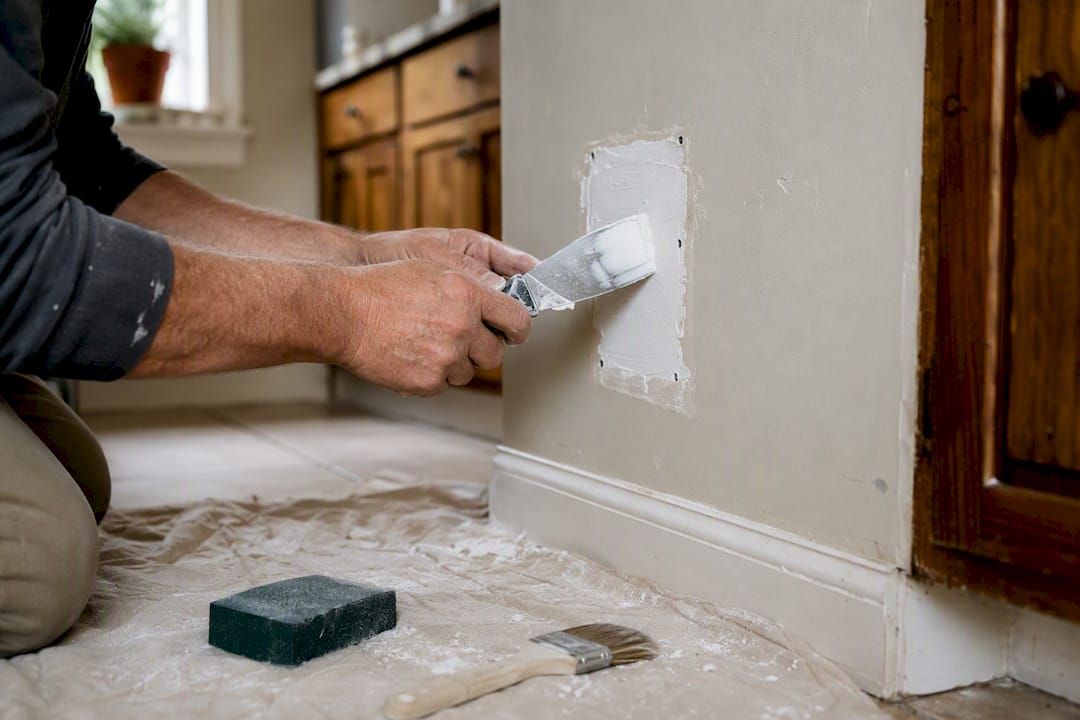
Drywall repairs are routine. A nail pop, a doorknob dent, or a water stain usually means cutting out a patch, taping it in, mudding, sanding, and repainting, work most handy homeowners can tackle themselves for the cost of a patch kit, or pay a pro $150 to $400 for on average.
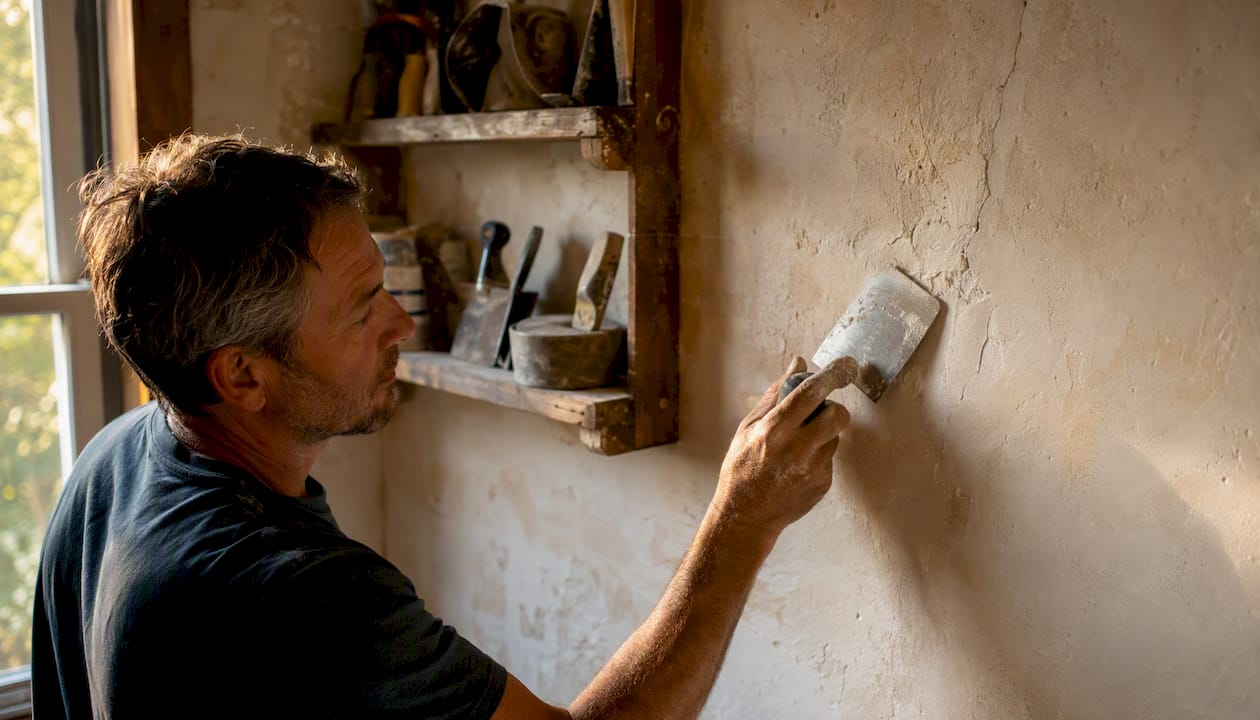
Plaster is a different animal. Hairline cracks are common as an older house settles, and they’re often cosmetic, but they can also signal separated lath or foundation movement that needs a specialist’s eye before you skim over it. Because plaster is more complex and costly to repair invisibly than drywall, even a small patch can mean matching an old troweled texture by hand, and repairs can easily run several times what a comparable drywall fix would cost.
Moisture is the wild card for both materials. Water exposure softens drywall’s paper facing and gypsum core fast, often forcing full-panel replacement to head off mold. Plaster resists moisture somewhat better structurally, but a sustained leak will still rot the lath behind it, and once lath fails, no amount of surface patching holds.
Quick decision rules:
Small, isolated crack or dent? Patch it, regardless of material.
Cracking that keeps returning in the same spot? Call a specialist before you repaint over it again.
Any wall that’s been wet for more than a day or two? Assume replacement, not repair, is the safer call.
Pro Tip: Skip nails when hanging anything on plaster. The brittle surface chips easily around a nail hole, so screws, wall anchors, or adhesive hooks preserve the finish far better than the hardware that works fine on drywall.
Which Wall Material Fits Your Project?
The right answer changes depending on what you’re actually building.
Restoring a historic home: Repair and preserve existing plaster where you can. If sections are too damaged to save, veneer plaster keeps the period character with a shorter turnaround than a full three-coat redo.
Budget remodel or rental unit: Drywall wins on cost and speed almost every time, and repairs between tenants are quick and cheap.
Home theater or music room: Plaster’s density gives it a real edge for sound control, though a heavier drywall assembly with resilient channel and extra layers can close much of that gap.
Basement or bathroom: Moisture-resistant drywall board is the standard, cost-effective answer; special plaster systems exist but rarely make sense unless you’re matching existing historic walls.
Before you get bids, ask every contractor the same set of questions:
Is your quote based on drywall, conventional plaster, or veneer plaster, and why?
What’s included in demolition and disposal, and what’s billed separately?
What finish level am I paying for, and can I see an example?
How do you handle surprises like rotted lath or old wiring once the wall is open?
What Should a Contractor Check Before Writing Your Bid?
A bid that’s just a single number per room is a bid you should question. Spagnotti Contracting walks through specific checks before pricing a drywall or plaster job, and you should expect the same from anyone bidding your project:
Hidden moisture behind walls, especially near plumbing, windows, and exterior corners
Lath condition on plaster walls, since wood lath that’s cracked or separated from the studs changes the whole scope
Outlet and switch box depth, which affects whether boxes need extensions once new material goes up
Signs of foundation settlement, which explain recurring cracks better than a fresh coat of paint ever will
A serious written bid itemizes demolition, disposal, materials, labor by finish level, and a contingency line for what gets found once the wall is opened. If a contractor claims plaster experience, ask to see photos of finished work and talk to a past client before you sign anything.
What Actually Matters Once You’ve Read the Comparisons
Most guides to this topic treat drywall and plaster like a straight up-or-down vote, and that’s the part I’d push back on. The material isn’t the decision. The wall’s condition and your actual goal are.
If your plaster is sound and the cracks are cosmetic, replacing it with drywall to save money is usually a mistake. You’re trading a wall that’s already earned its keep for one that will need repainting and patching within a decade. If your plaster is failing at the lath, though, sinking money into invisible patch after invisible patch is the real waste, not the eventual switch to drywall.
The identification tests matter less for satisfying curiosity and more for negotiating leverage. Walk into a contractor conversation already knowing whether you’re dealing with lath and plaster or drywall, and you’ll get a scope that matches reality instead of a generic per-room estimate. That’s the gap between a homeowner who gets surprised mid-project and one who doesn’t.
Get a Local Estimate for Your Drywall or Plaster Project
Spagnotti Contracting handles both sides of this comparison directly for Omaha metro homeowners: drywall installation and repair, plaster patching and skim coats, full-room replacements, and the project management to keep everything on schedule when multiple trades are involved.

When you request an estimate, ask for it broken down by line item: demolition, disposal, materials, labor, and finish level, not a single lump figure. That level of detail is also how you catch whether a bid actually accounts for what’s behind your walls, rather than guessing. If your project involves finish work after the walls go up, coordinating painting timelines with the same team avoids the scheduling gaps that drive up painting costs on their own. Request a free estimate through Spagnotti Contracting’s services page and get a scope that reflects what’s actually on your walls, not a generic per-square-foot guess.
Sources
Recommended
Dealing With Something Similar?
Every property is different, but if this sounds like what you’re seeing, we’re happy to take a look and help you figure out what’s actually going on.