Roofing
What to Do During a Roof Leak Emergency
By Noah Spagnotti
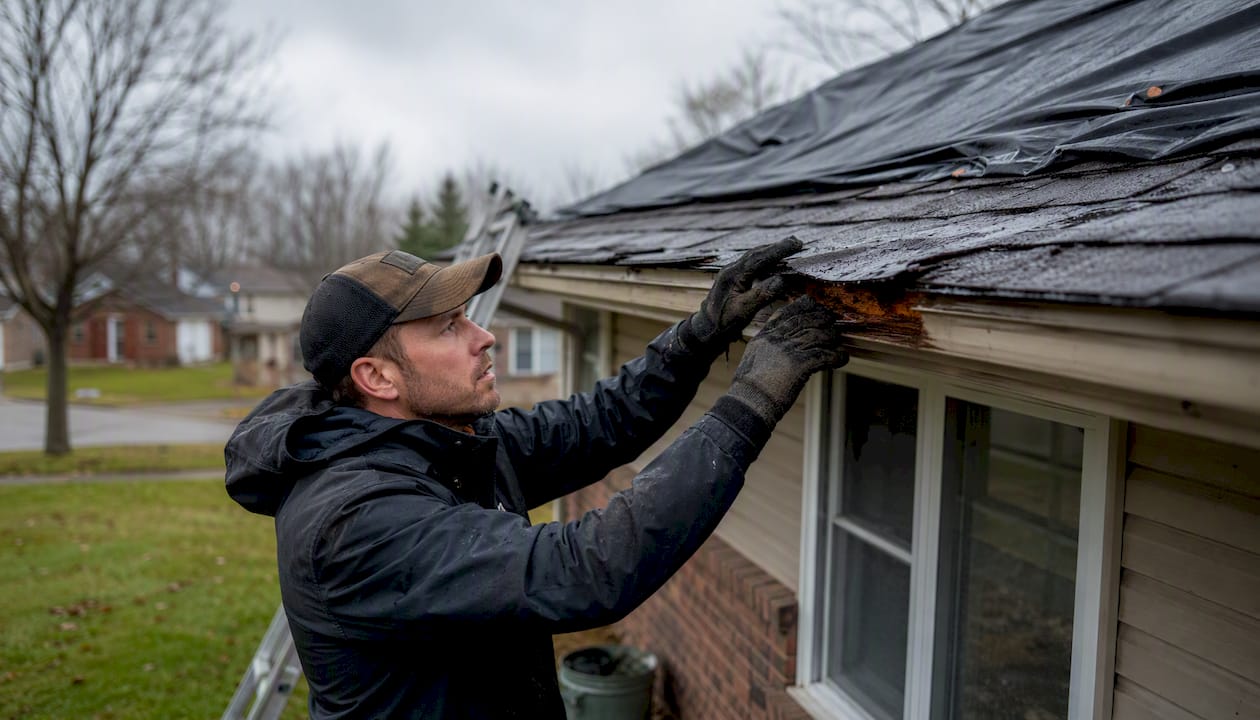
Stop the leak now and call a licensed emergency roofer. That’s the short answer. While you wait for a pro to arrive, three things matter most: contain the water, protect your belongings, and document everything you see.
Your 3-step micro checklist:
Contain the water. Place buckets under active drips. Lay plastic sheeting or towels on the floor to catch spread.
Protect valuables. Move electronics, furniture, and anything irreplaceable away from the wet area.
Document the situation. Take photos and short videos with timestamps. Note the time, what you see, and what you did.
When you call an emergency roofer, have your address ready, a description of where the leak is (ceiling, wall, attic), whether water is near any light fixtures or outlets, and whether you can see visible damage on the roof from the ground.
Pro Tip: Don’t climb on the roof to investigate. Give the roofer your ground-level observations and let them assess from there.
Key Takeaways
In a roof leak emergency, the sequence that limits damage is: contain water immediately, keep people safe, document everything, and call a licensed local roofer before attempting any DIY fix.
Point | Details |
|---|---|
Act on these triggers immediately | Active dripping, bulging ceilings, or water near electrical fixtures require a call now, not a scheduled appointment. |
Document before you clean up | Photos, videos, and a written log with timestamps are the most useful thing you can do for an insurance claim. |
Verify before you hire | Ask for proof of license, insurance certificate, and a written estimate before any work starts. |
Tarps buy time, not permanence | A properly installed tarp protects for a few weeks; schedule permanent repairs within two to four weeks. |
Spagnotti Contracting | Serves the Omaha metro with 24/7 emergency response, licensed crews, free inspections, and insurance coordination. |
Table of Contents
When is a roof leak actually an emergency?
Step-by-step: what to do in the first 60 minutes
What happens when an emergency roofer shows up
How to find a reliable emergency roofer fast
What emergency repairs cost and how insurance works
What Spagnotti Contracting prioritizes in an emergency
Spagnotti Contracting is ready when your roof isn’t
Sources
When is a roof leak actually an emergency?
Not every wet ceiling is a crisis. Knowing the difference saves you from panic and from calling at 2 AM when you don’t need to.
Call immediately if you see any of these:
Active dripping or running water inside the home
A ceiling that looks swollen, bulging, or sagging
Water touching or near electrical fixtures, outlets, or panels
Large sections of roofing blown off or visibly missing after a storm
Exposed roof deck (bare wood or sheathing visible from outside)
Active dripping, ceiling bulging, or water near electrical fixtures are high-risk situations that need immediate attention, not a scheduled inspection.
These can usually wait for a regular appointment:
A small, dry ceiling stain with no active dripping
Minor discoloration around a vent or skylight with no moisture present
Cosmetic damage to flashing that isn’t letting water in
Storm-driven leak surges are real. After major weather events, emergency roofers get flooded with calls, so the sooner you reach out, the better your response time.
Pro Tip: Never climb on a wet, icy, or wind-damaged roof. Even experienced roofers won’t go up in unsafe conditions. Your job right now is to manage the interior.
Step-by-step: what to do in the first 60 minutes
A two-phase triage approach works well here: handle the immediate threats first, then work through the next-hour priorities. Here’s the sequence.
Get people and pets clear of the area. If the ceiling looks swollen or water is near any electrical fixture, treat it as a hazard zone. Don’t stand under a bulging ceiling.
Cut power to the affected circuit if water is near wiring. Go to your breaker panel and switch off the circuit serving the wet room. If you’re unsure which circuit it is, or if water is near the main panel itself, call an electrician before touching anything. Don’t use electrical devices in a wet area.
Place buckets under active drips. If a ceiling is bulging with pooled water, carefully puncture the lowest point with a screwdriver to let it drain in a controlled stream rather than collapse suddenly.
Lay plastic sheeting on floors and over furniture. Contractor-grade plastic from a hardware store works well. Towels and tarps help too, but plastic sheeting covers more ground faster.
Move electronics, documents, and valuables out of the room. Water damage to a laptop or irreplaceable documents is a secondary loss you can prevent in two minutes.
Check the attic safely. Bring a flashlight. Look for where water is entering, and note the location relative to the roof above. Don’t step on drywall between joists. Don’t touch wiring. If you see standing water or active flow, back out and let the roofer handle it.
Document everything before you clean up. Photos and short videos with your phone’s timestamp active are the most useful thing you can do for an insurance claim. Documenting with photos, videos, and a short written log is consistently the single most useful step homeowners take for insurance claims. Write down the time, what you saw, and what actions you took.
Pro Tip: If you’re not certain whether to cut power, call your utility company’s emergency line. They can walk you through it in under two minutes.
What happens when an emergency roofer shows up
A legitimate emergency roofer follows a clear sequence. Knowing what to expect helps you spot a professional versus someone winging it.
What a qualified roofer does on arrival:
Conducts a safety assessment before going on the roof
Identifies the actual entry point (not just where water drips inside, which is often several feet from the true source)
Installs a temporary tarp or patch to stop active water intrusion
Walks you through what they found and what the path to permanent repair looks like
Provides a written estimate before any work begins
The gap between where water drips and where it actually enters the roof is one of the most common sources of confusion. Water travels along rafters and sheathing before it finds a low point to drip from. A good roofer traces it back to the source.
Phase | What happens | Approximate timing |
|---|---|---|
On-site safety check | Roofer assesses roof condition before climbing | First minutes |
Source identification | Locates true entry point, not just drip location | Next minutes |
Temporary protection | Tarp or patch installed to stop active water entry | Subsequent time |
Interior assessment | Roofer reviews interior damage, notes scope | Concurrent with above |
Written estimate | Documented scope for permanent repair | Before leaving site |
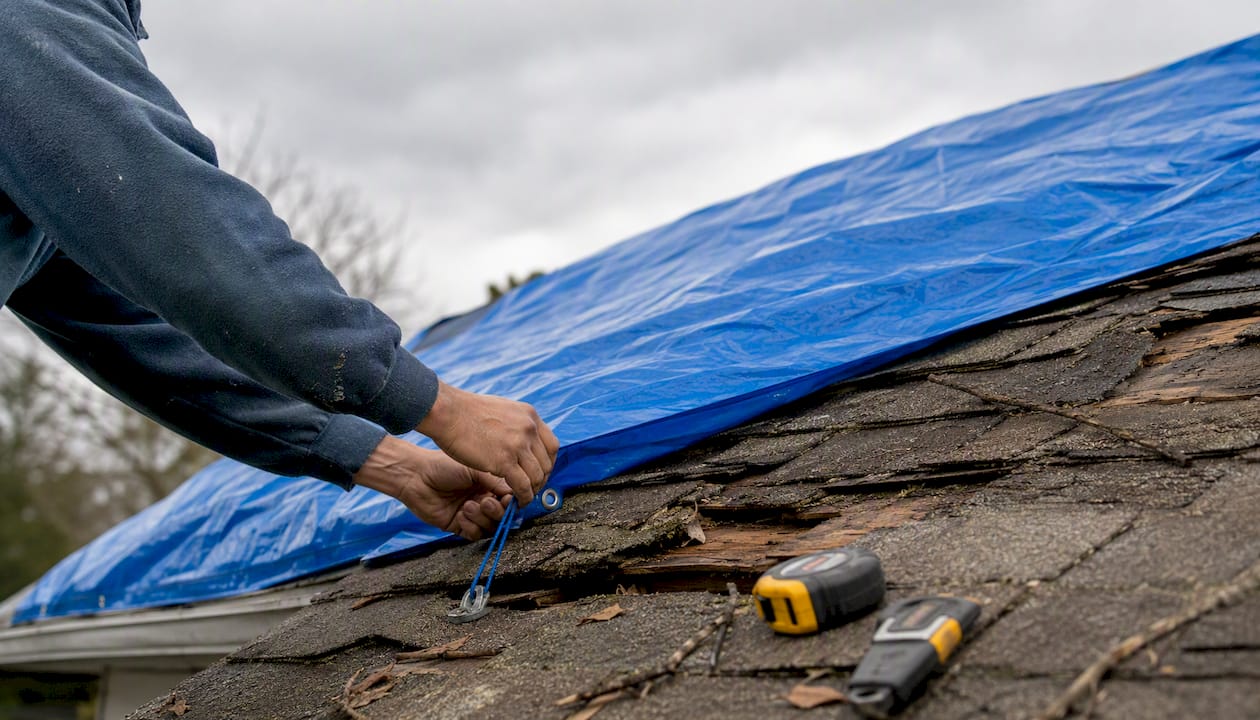
A properly installed tarp can protect a roof temporarily under normal conditions, though most roofers recommend scheduling permanent repairs within a few weeks. Leaving a tarp in place through a full season is not a long-term solution.
How to find a reliable emergency roofer fast
Speed matters, but hiring the wrong contractor in a panic costs more than waiting an extra hour for the right one. Industry guidance consistently warns against out-of-town “storm chasers” who appear after major weather events and disappear before warranty issues surface.
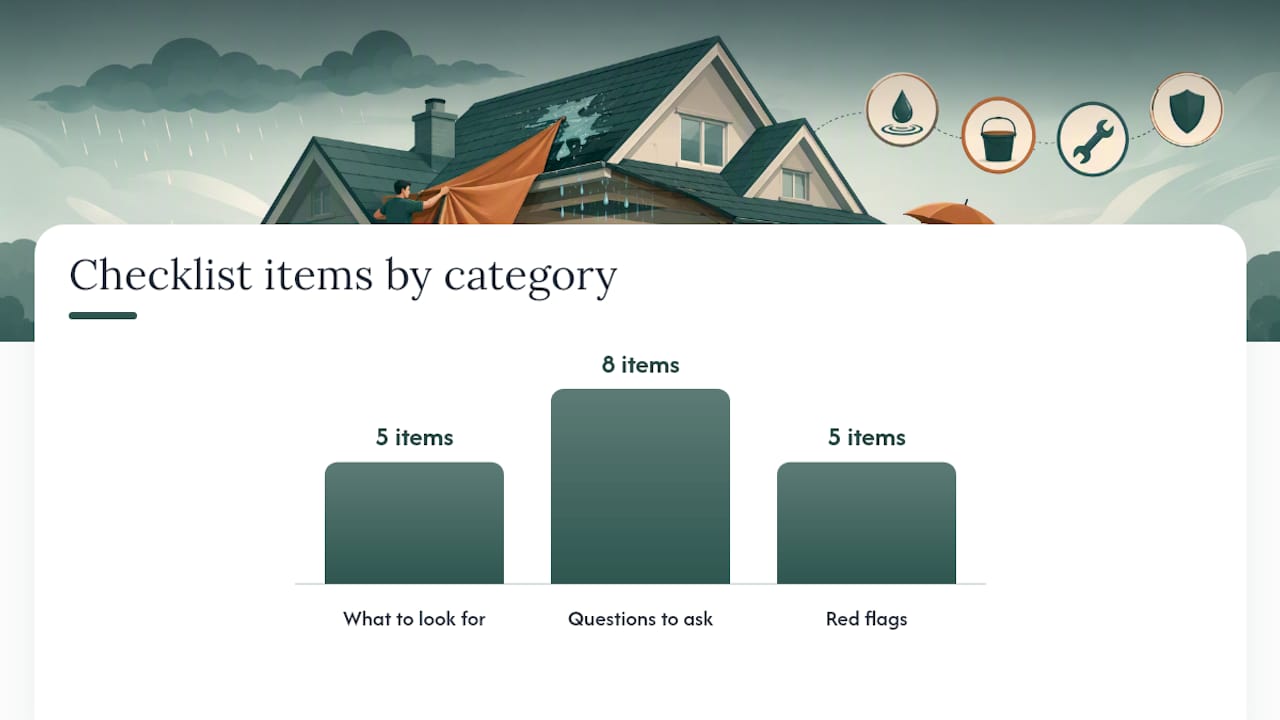
What to look for when searching:
Local address and established presence in your area
Licensed and insured (ask for both, not just one)
24/7 emergency response availability
Experience coordinating with insurance adjusters
BBB profile or verifiable third-party reviews
BBB listings, like those maintained by established local roofing businesses, are one useful verification layer alongside license and insurance checks. They’re not the only signal, but a contractor with no verifiable online presence is a red flag.
Questions to ask on the first call:
What is your response time for emergency calls?
Do you carry general liability and workers’ comp insurance? Can you send proof?
Are you licensed in this state?
Do you provide a written estimate before starting work?
What does your tarping process look like?
Do you have experience working with insurance adjusters?
What warranty do you offer on emergency repairs?
Red flags to hang up on:
Door-knockers who showed up unsolicited after a storm, offering cash-only deals
No physical local address or vague answers about where the company is based
Pressure to sign immediately before seeing a written estimate
Suggestions to skip permits or inspections to “save time”
No proof of insurance when asked
While you wait for the roofer to arrive, request the company name, license number, and a photo of their insurance certificate via text or email. Cross-check the license number with your state contractor licensing board online.
What emergency repairs cost and how insurance works
Emergency roofing costs vary based on damage scope, time of day, and your location. Here’s a realistic breakdown of what you’re likely to encounter.
Typical cost components:
Emergency dispatch or after-hours call fee
Tarping (materials and labor)
Temporary patch or flashing repair
Written damage assessment for insurance purposes
Follow-up permanent repair (separate estimate)
Tarping is often the lowest-cost immediate step, though after-hours dispatch fees can add to the total. The permanent repair is almost always a separate, larger cost quoted after the full inspection.
Cost component | Typical range | Notes |
|---|---|---|
Emergency dispatch fee | Varies by contractor | Higher after hours and on weekends |
Temporary tarp installation | Varies by roof size and damage | Often included in emergency service quote |
Temporary patch/flashing | Varies by scope | Depends on damage type and materials |
Permanent repair estimate | Quoted separately | Based on full inspection findings |
Insurance tips that actually matter:
Call your insurer the same day, even before the roofer leaves. Early notification protects your claim.
Keep every receipt for mitigation work: tarps, plastic sheeting, buckets, anything you bought to contain damage.
Ask your roofer for a written damage report specifically formatted for your insurance adjuster.
Photograph the damage before any tarping or cleanup. Adjusters need to see the original condition.
Understand your deductible before assuming everything is covered. Emergency tarping may or may not be reimbursed depending on your policy and the covered peril.
Timing matters for claims. Most policies require prompt notification after a loss. Waiting several days to report a leak can complicate reimbursement, even when the damage is clearly covered.
What Spagnotti Contracting prioritizes in an emergency
When a roof leak emergency call comes in, the first priority is always safety, not speed. Getting on a damaged roof in unsafe conditions helps no one. The sequence that actually protects homeowners is: confirm the interior is safe, stop the water from spreading, document everything clearly, and then plan the permanent fix.
Spagnotti Contracting’s emergency response is built around a few non-negotiables:
24/7 emergency dispatch for active leaks and storm damage
Licensed and insured crews on every job, with documentation available on request
Free documented inspection and written estimate before any work begins
Insurance coordination support, including damage reports formatted for adjusters
Warranty on repairs, so the fix holds after the crew leaves
What separates a good emergency response from a stressful one is communication. Homeowners in a leak situation don’t need vague timelines or verbal-only estimates. They need to know exactly what was found, what was done, and what comes next. That’s the standard Spagnotti Contracting holds itself to on every emergency call.
Spagnotti Contracting is ready when your roof isn’t
When a leak hits at midnight or after a storm tears through the Omaha metro, you need a contractor who picks up, shows up, and does the work right. Spagnotti Contracting offers 24/7 emergency response with same-day tarping, licensed and insured crews, and a free documented inspection so you know exactly what you’re dealing with before signing anything.

The team handles insurance coordination directly, providing written damage reports your adjuster can use. And because Spagnotti covers roofing, gutters, and siding under one roof, a single call handles the full scope of storm damage rather than juggling three separate contractors. For Omaha-area homeowners, that’s the practical difference between a repair that’s done and one that drags on.
Ready to get a licensed roofer on-site? Contact Spagnotti Contracting’s roofing team now for emergency response and a free inspection.
Sources
These references back the guidance in this article and are worth bookmarking for verification or additional reading.
Recommended
Roof Replacement & Repair in Omaha, NE | Spagnotti Contracting
Why Is Water Leaking Around My Window? It May Not Be the Window | Spagnotti Contracting
How to Tell If Your Siding Needs a Repair or a Full Replacement | Spagnotti Contracting
What Should a Contractor Check Before Building or Replacing a Deck? | Spagnotti Contracting
Dealing With Something Similar?
Every property is different, but if this sounds like what you’re seeing, we’re happy to take a look and help you figure out what’s actually going on.