Roofing
Stop Ice Dams on Roof Before They Wreck Your Ceiling
By Noah Spagnotti

If ice is already stacked at your eaves, stay off the roof and off the ladder. Clear a safe drainage channel from the ground with a roof rake, catch any indoor drips in a bucket, and call a roofing contractor for removal if you see active leaks or a heavy ice mass. The permanent fix isn’t more raking. It’s sealing the air leaks feeding heat into your attic, adding insulation, and giving the roof deck continuous ventilation.
Here’s the three-step emergency response, in order:
Safety first. Keep people and pets clear of areas below hanging icicles or ice buildup.
Buy time. Rake accessible snow off the lower roof edge and set containers under active drips.
Call a pro if you see water stains spreading, sagging ceiling drywall, or ice thick enough to worry about weight.
Pro Tip: Skip the temptation to chip at the ice yourself. Attic air sealing stops the melt-refreeze cycle at the source, so you’re not out there raking every storm for the rest of the winter.
If you’re seeing interior water stains or ice that keeps rebuilding at the same spot year after year, that’s your cue to get an attic inspection scheduled, not just another round of roof raking.
Key Takeaways
Ice dams form when attic heat loss warms the upper roof deck while the eaves stay cold, and air sealing combined with insulation and ventilation is the only fix that stops the cycle for good.
Point | Details |
|---|---|
Act safely first | Stay off icy roofs and ladders; use ground-level raking and indoor drip containment while planning permanent repairs. |
Air sealing comes first | Sealing attic air leaks matters more than insulation or ventilation alone, since it removes the heat source driving the melt cycle. |
Hit the right R-value | Cold-climate attics often need R-30 to R-60 insulation, with some guidance pushing toward R-60 for maximum protection. |
Know your insurance gap | Ice dam removal is typically excluded as maintenance, while resulting water damage may be covered depending on your policy. |
Get a professional assessment | Spagnotti Contracting evaluates roofing, attic air sealing, insulation, and ventilation together to stop recurring ice dams. |
Table of Contents
What Are Ice Dams on a Roof, Exactly?
What Causes Ice Dams to Form on a Roof?
What Are the Signs of Ice Dams You Should Watch For?
How Do You Permanently Prevent Ice Dams on a Roof?
What Should You Do Right Now if an Ice Dam Is Already Forming?
Which Roof Designs Make Ice Dams Worse, and How Do Contractors Fix Them?
Does Insurance Cover Ice Dam Damage, and What Should Repairs Cost?
Get Your Attic and Roof Assessed Before the Next Storm
Sources
What Are Ice Dams on a Roof, Exactly?
An ice dam is a ridge of ice that forms at the roof’s edge and blocks melting snow from draining off, forcing water to back up under the shingles. It happens because your roof isn’t uniformly cold. Snow blankets the whole surface, but heat escaping from the living space below warms the upper roof deck above freezing while the eaves, hanging past the heated wall line, stay cold. Meltwater runs down, hits that cold zone, and refreezes into a wall of ice. Snow itself insulates like a light blanket, adding roughly R-1 to R-2 per inch, which traps even more heat under a deep snowpack and speeds up the cycle.
Ice dams show up most often in a few predictable spots:
Roof eaves and overhangs
Valleys where two roof planes meet
Around chimneys, skylights, and other penetrations
What Causes Ice Dams to Form on a Roof?
Three problems drive almost every ice dam, and they rank in this order of importance:
Attic air leakage. Warm, moist air escaping from living spaces through gaps around light fixtures, plumbing stacks, attic hatches, and top plates raises the roof deck’s temperature from below.
Inadequate insulation. Thin or compressed insulation lets more of that heat reach the roof deck instead of staying in the house.
Poor or blocked ventilation. Without a steady flow of outside air moving from soffit to ridge, heat and moisture just sit under the roof deck.
Complex roof geometry makes all three problems worse. Valleys, dormers, and multiple roof planes create thermal bridges and gaps that are hard to seal completely, and complicated rooflines raise ice dam risk because achieving a continuous air and thermal barrier gets exponentially harder with every added angle. Building science guidance treats air sealing as the priority move, since insulation and ventilation are far less effective without a continuous air barrier underneath them.
What Are the Signs of Ice Dams You Should Watch For?
Catching an ice dam early usually means the difference between a quick fix and a drywall replacement. Look for these exterior signs:
A visible ridge of ice along the eaves, thicker than normal icicles
Large icicles hanging from the gutter line
Wet, dark streaks on the roof surface or steady dripping at the soffits
Inside the house, watch for:
Brown or yellow stains spreading across ceiling drywall
Wet or matted insulation near the attic hatch or eaves
Ice forming inside gutters or dripping through can light fixtures
Consider it urgent, not just annoying, if you spot an active leak reaching drywall, ice heavy enough that you’re worried about a partial collapse, or icicles large enough to pose a real falling hazard to anyone walking below.
How Do You Permanently Prevent Ice Dams on a Roof?
Permanent prevention comes down to the same three-pronged approach building scientists have recommended for decades: seal attic air leaks, add insulation to the right R-value, and keep the roof ventilated. Skip one leg of that stool and the other two won’t hold.
Audit and seal the ceiling plane. Every gap where warm air can rise into the attic, around recessed lights, bath fans, plumbing stacks, chimney chases, and the attic hatch, needs to be closed with caulk, foam, or rigid air barrier material before anything else happens.
Bring insulation up to recommended levels. For most vented attics in cold climates, that means landing somewhere in the R-30 to R-60 range, with some cold-climate guidance pushing toward R-60 for maximum protection against deep snowpack years.
Restore continuous ventilation. Air needs an unobstructed path from soffit vents to a ridge vent, with roughly a 2-inch clear channel maintained the whole way, so the roof deck stays close to outdoor air temperature instead of hovering just above freezing.
The goal isn’t a “warm roof.” It’s a roof deck that tracks outdoor temperature closely enough that meltwater never gets the chance to refreeze partway down.
Pro Tip: If ductwork or HVAC equipment sits inside the attic, that’s often the single biggest heat source driving ice dams. Moving the air barrier above that equipment, or relocating it entirely, solves problems that insulation alone never will.
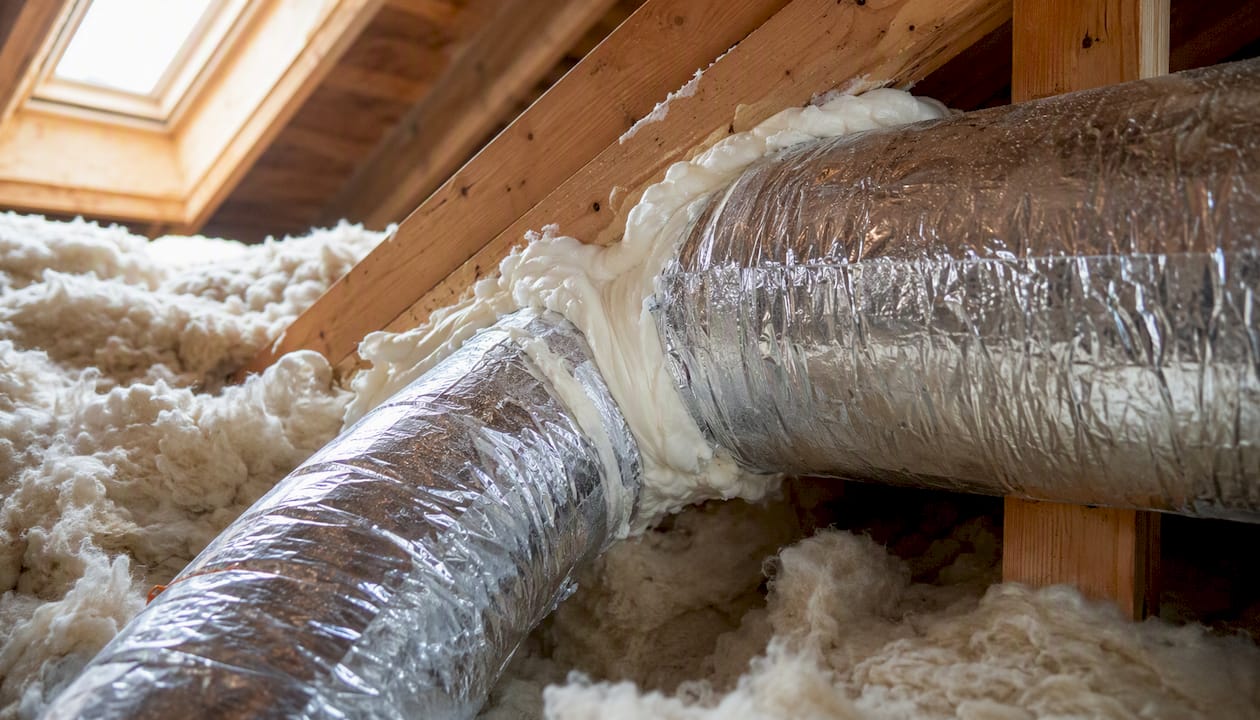
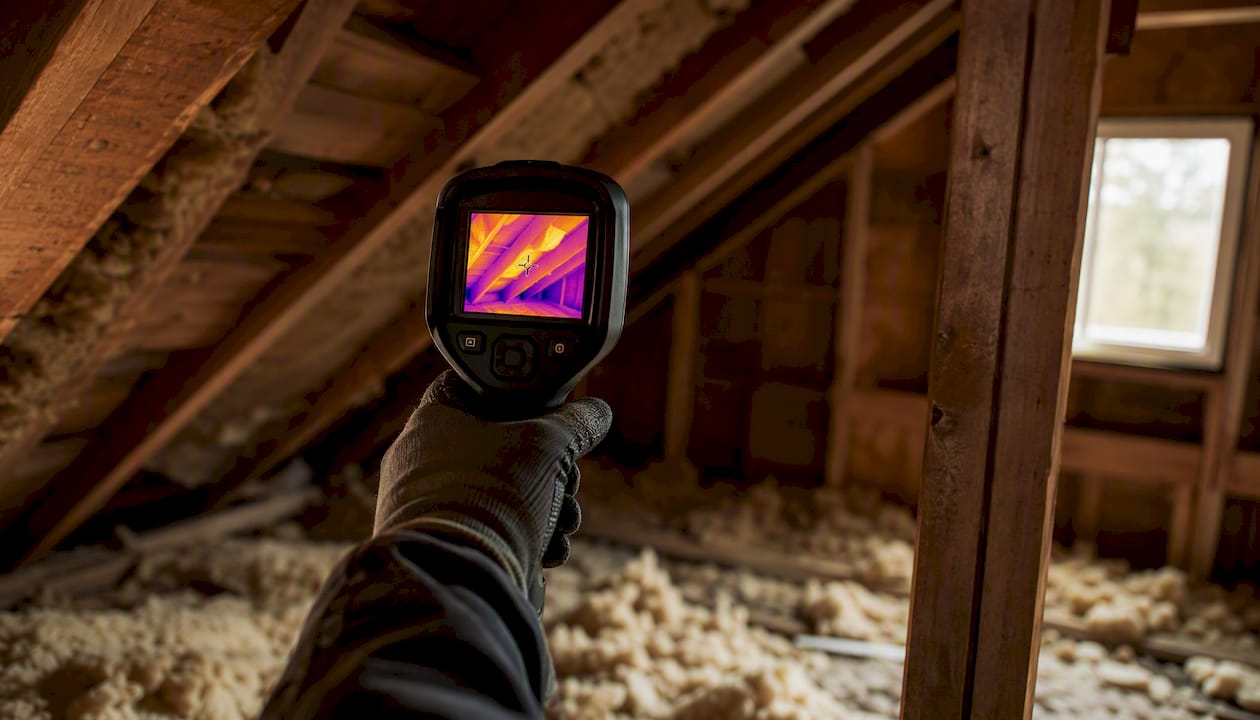
Compact, unvented roofs need a different playbook. In those cases, contractors often build a vented over-roof assembly or shift the insulation above the roof deck itself, and mixing permeable and impermeable insulation layers incorrectly can trap moisture and cause condensation problems down the line. For any retrofit on a roof with valleys, dormers, or multiple planes, a blower-door test paired with an infrared scan will locate exactly where the leaks are hiding, which saves time and money over guessing. A contractor evaluating this kind of work should be checking these same building envelope details the way they would before framing or replacing any structural feature.
What Should You Do Right Now if an Ice Dam Is Already Forming?
Permanent fixes take planning. A dam forming mid-storm needs an immediate response instead. Here’s what actually helps:
Use a roof rake with a long handle to clear snow from the ground, working from the eaves upward.
Fill a nylon stocking with calcium chloride ice melt and lay it across the dam to melt a channel for drainage.
Clear snow away from soffit vents so at least some ventilation keeps functioning.
Set buckets or towels under any active indoor drips to protect flooring and drywall.
What you should never do: don’t chip at ice with a hammer, axe, or shovel. That cracks shingles and tears flashing, turning a temporary problem into a permanent leak. Don’t climb onto an ice-covered roof under any circumstances, and skip rock salt on shingles since it accelerates granule loss and corrodes metal flashing. Professionals use low-pressure steam or careful manual removal with proper fall protection precisely because DIY methods create liability and roof damage that costs more than the removal itself. If you’re seeing interior leaks or a genuinely heavy ice mass, that’s a call-a-pro situation, not a weekend project.
Pro Tip: A roof rake bought for $30 to $50 will save you more in avoided shingle damage than a single professional steam removal visit costs.
Which Roof Designs Make Ice Dams Worse, and How Do Contractors Fix Them?
Some roofs are just harder to protect than others. Complex geometry with multiple valleys, low-slope sections, dormers, and roof penetrations like chimneys and skylights all create spots where heat escapes and water collects. Dark shingle colors add another variable, since they absorb more solar radiation and accelerate surface melt even on a well-insulated roof.
Contractor-level fixes address this directly:
Self-adhering ice-and-water membrane installed at the eaves and in valleys, extending at least a few feet past the exterior wall line
Continuous soffit-to-ridge ventilation channels built into the roof assembly during a reroof
Over-roof or rigid foam detailing on compact roofs where traditional venting isn’t practical
Pro Tip: Simpler roof geometry is genuinely easier and cheaper to air seal and ventilate correctly. If you’re planning a major renovation, reducing roofline complexity where it makes architectural sense pays off in maintenance for decades.
Does Insurance Cover Ice Dam Damage, and What Should Repairs Cost?
Homeowners insurance treats ice dam removal and ice dam damage as two very different things. Removing the ice dam itself is usually classified as routine maintenance and excluded from coverage, while water damage inside the home caused by that dam, ceiling stains, ruined drywall, damaged insulation, may be covered depending on your specific policy language. Document everything with photos before cleanup starts, and call your insurer early in the process rather than after repairs are already underway. If a leak has already reached your drywall or window trim, it’s worth confirming the water traveled from the roof and not from a separate window flashing issue before filing a claim.
Repair costs vary widely based on a few factors:
How far water traveled before it was stopped (ceiling only, versus wall cavities and flooring)
Whether roof repairs are limited to flashing and shingles or require deck replacement
The scope of attic air sealing and insulation work needed to prevent a repeat
Whether mold remediation is needed in wall or ceiling cavities
When you’re vetting a contractor for ice dam work, ask for proof of insurance, direct experience with ice dam mitigation specifically (not just general roofing), whether they use blower-door or infrared diagnostics before proposing a fix, what permanent solution they’re recommending versus a Band-Aid, and what warranty backs the work. Be wary of anyone who suggests chipping ice off as a service, or who only offers to remove the current dam without addressing the attic heat loss causing it. That’s a temporary fix sold as a permanent one.
How a contractor triages an ice dam call
A typical response starts with safety, confirming no one’s at risk from falling ice, then moves to temporary mitigation to stop active leaks. From there it’s attic diagnostics: a blower-door test and infrared scan to map exactly where warm air is escaping. Air sealing and insulation upgrades come next, followed by ventilation corrections or membrane work if the roof assembly needs it. Homeowners can request an estimate through Spagnotti Contracting’s services pages once that initial inspection identifies the scope.
Get Your Attic and Roof Assessed Before the Next Storm
Roof raking and de-icing socks buy you time, but they’re not a fix you want to repeat every winter. Spagnotti Contracting handles the whole picture: roof inspection and repair, attic air sealing, insulation upgrades, and ventilation corrections, all coordinated by one crew instead of juggling separate contractors for each piece.

Our team also connects you with vetted crews for safe, professional ice removal when a dam has already formed, so you’re not stuck choosing between doing nothing and getting on a ladder yourself. Beyond roofing, we handle siding, gutters, and the interior repairs that ice dam leaks often leave behind, drywall, ceiling damage, and beyond. If persistent ice dams have you thinking about a full roof replacement or repair, request an estimate and we’ll walk the attic with you before recommending anything.
Sources
Dealing with and preventing ice dams — University of Minnesota Extension
Preventing roof ice dams — National Weather Service Grand Rapids
Does homeowners insurance cover ice dam damage? — Policygenius
Recommended
Why Is Water Leaking Around My Window? It May Not Be the Window | Spagnotti Contracting
What Should a Contractor Check Before Building or Replacing a Deck? | Spagnotti Contracting
How to Tell If Your Siding Needs a Repair or a Full Replacement | Spagnotti Contracting
Roof Replacement & Repair in Omaha, NE | Spagnotti Contracting
Dealing With Something Similar?
Every property is different, but if this sounds like what you’re seeing, we’re happy to take a look and help you figure out what’s actually going on.