General Contracting
Fix Drywall Corner Cracks: 3 Trade Proven Repairs for Omaha Homeowners
By Noah Spagnotti

For most hairline drywall corner cracks, the reliable fix is to remove loose material, embed cross-fibered paper tape in a base coat of compound, then apply two feathered finishing coats and prime. That multi-coat taping method is the industry-standard durable repair. If you see swelling, mold, or cracks that keep returning alongside sticking doors or windows, stop patching and bring in a contractor instead.
TL;DR:
Use cross-fibered paper tape embedded in a base coat of compound for durable, lasting drywall corner crack repairs, especially on movement-prone corners.
Cracks that widen, reappear quickly, or are accompanied by swelling, mold, or soft spots indicate underlying structural or moisture issues that require professional inspection.
When a crack recurs after repair or shows signs of swelling or staining, avoid patching and instead have a contractor check for framing movement or hidden water damage.
For water-damaged corners, remove swollen or soft drywall rather than drying it in place to prevent mold growth, and measure moisture levels before repairing.
Most repeated cracking stems from framing or installation issues, so consistent fastener spacing and controlling humidity reduce future cracks, but persistent problems signal the need for professional evaluation.
How do you tell if a corner crack is serious?
Not every crack means trouble, but the pattern tells you what you're dealing with. A thin, straight hairline crack along the seam, especially in a newer home, usually points to normal lumber shrinkage or minor settling. A crack that widens, zigzags, or reappears within weeks of patching usually points to ongoing framing movement.
Watch for these signs when you inspect a cracked corner:
Hairline and stable: a thin line with no bulge, flaking, or discoloration, consistent with drying lumber or seasonal settling.
Recurring in the same spot: a crack that returns after a repair, which usually signals framing or substrate movement rather than a finish problem.
Doors or windows binding nearby: a sign the structure itself is shifting, not just the drywall skin.
Swelling, soft spots, or discoloration: a strong signal of moisture behind the panel.
Musty odor or staining: a cue to check for hidden mold before doing any cosmetic work.
Measure crack width over a few weeks if you're unsure. Growth of even a sixteenth of an inch suggests active movement, not a one-time event. EPA guidance states that drywall showing obvious swelling should be removed rather than dried in place, because mold can grow hidden behind an intact-looking surface. When you see swelling, skip the patch-and-paint approach and open the wall.
What materials and tools do you need for a lasting repair
Using the wrong tape or compound is the most common reason a corner crack comes right back. Paper joint tape that is cross-fibered and center-creased is the preferred material for inside corners because it resists tearing and holds its fold better than mesh alternatives, a recommendation echoed in USG's paper tape guidance. Compound choice matters too: setting-type compound dries chemically and resists shrinkage in humid conditions, while all-purpose compound sands easier but shrinks more and can crack if layered too thick.
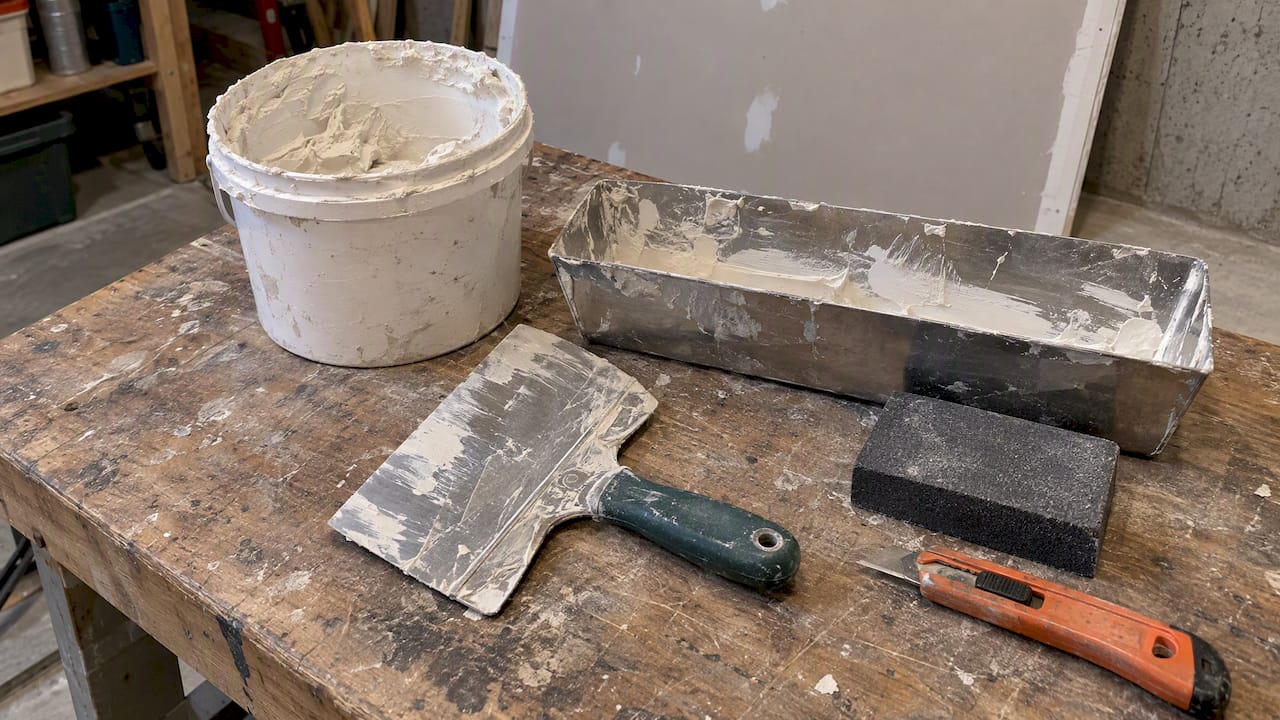
For a basic repair you'll need:
A 4-inch and 6-inch taping knife plus a sanding sponge or pole sander.
Cross-fibered paper joint tape and a setting-type or all-purpose compound.
A utility knife for cutting back loose material, plus a dust mask and eye protection.
Stain-blocking primer to seal the patch before repainting.
For movement-prone corners, a flexible paper-faced metal or rubber-center expansion bead is worth the extra cost over rigid corner bead.
Pro Tip: Buy a small bucket of setting-type compound even for a one-crack job: it resists cracking from humidity swings far better than premixed all-purpose mud left to dry slowly.
Step-by-step repair for the three common corner-crack scenarios
For a simple hairline crack, follow this sequence:
Open the crack slightly with a utility knife into a shallow V, then brush out loose debris.
Embed cross-fibered paper tape into a base coat of compound, leaving a thin layer of mud under the tape for a clean bond, following USG's application steps.
Let the base coat dry fully, then apply a second coat feathered about two inches beyond the first.
Apply a third coat feathered about two inches past the second, then let it cure completely before sanding.
Sand lightly, prime, and paint to match.
For recurring movement cracks, scrape out the old tape and compound first. Instead of re-taping rigidly, install a flexible expansion-style corner product with a rubber center. According to Fine Homebuilding's coverage of these products, the rubber center must stay free of mud so the joint can flex with seasonal movement instead of cracking again. If cracks keep returning even after installing a flexible joint, the more permanent fix is to cut back to the nearest studs, add blocking, and fasten a new patch panel so the corner has no joint at all, a method detailed in DrywallInfo's repair procedure.
For water-damaged corners, check for swelling first. If the board is swollen or soft, remove it rather than trying to dry it in place, per EPA mold guidance. If there's no swelling and seams are intact, you can dry the area with fans and a dehumidifier before patching. A moisture meter and a drying log make this process measurable rather than guesswork. Wear gloves and a mask when cutting into any water-affected board, since mold can be present even without a visible smell.
Pro Tip: Check your work with a utility light held at a low angle across the wall. Shadows reveal ridges or sunken tape lines that flat overhead light hides completely.
To verify a repair is finished, run your hand over the patch and look for flatness under raking light, then tap gently near the edges. A hollow sound can mean the tape didn't bond fully and needs another embed coat.
How to prevent future cracks and know when to call a contractor
Most repeat cracking traces back to the framing or the installation, not the paint job. A few habits reduce the odds of it happening again:
Keep fastener spacing consistent with GA-216 finishing guidelines so panels aren't under uneven stress.
Avoid forcing compound to dry fast with heaters or fans aimed directly at wet mud.
Run a dehumidifier in basements and bathrooms where humidity swings are largest.
Check attics and crawlspaces seasonally for new leaks before they reach interior walls.
If a crack returns a third time in the same spot, or if you notice new gaps appearing at multiple corners in the same room, framing settlement or a moisture source is the likely culprit, not the drywall finish. A contractor will check for cupped or warped framing, moisture readings inside the wall cavity, and nearby plumbing or roof penetrations. When you request an estimate, ask what's included in the inspection, whether the quote covers only cosmetic patching or substrate repair, and how they handle hidden damage found mid-project.
What we've learned repairing corners across Omaha homes
Framing movement, missed seams near door and window openings, and slow moisture leaks behind siding or flashing cause most of the recurring cracks we see. Homes with forced-air heating often show more seasonal movement at inside corners because of the drier winter air pulling moisture out of the lumber.
Check the cavity for moisture before you tape anything. A crack that looks cosmetic can be sitting on top of a slow leak that's been there for months.
In wetter months we lean on setting-type compound over all-purpose mud, and we always let each coat cure fully rather than rushing a patch to meet a painting deadline. Paper tape remains our default for inside corners because it holds its crease better than mesh under repeated seasonal flexing.
Our straightforward take on corner cracks
If the crack is a thin hairline with no swelling, DIY the three-coat paper-tape repair described above and move on. If it keeps coming back, or you see any swelling, staining, or a musty smell, stop and call a contractor rather than repainting over it. Before doing anything else, inspect the area for softness or discoloration and take a few photos so a contractor can assess it quickly if you decide you need one.
— Noah
How we can help with stubborn or water-damaged corner cracks
When a corner crack points to a moisture source or framing issue rather than a simple finish problem, we handle the full range from drywall assessment and moisture checks through tape-and-mud repair or full panel replacement and reframing where needed. A typical visit includes checking the wall cavity for moisture, inspecting nearby framing, and reviewing what the repair will involve before any work starts.
We assess whether a crack is cosmetic or tied to underlying issues before quoting any work.
We check for hidden moisture behind the wall, not just the visible surface crack.
We handle everything from basic drywall repair to cutting back and replacing damaged panels.
If you'd rather have someone else diagnose it than chase a crack that keeps coming back, our drywall installation and repair services page has details, and you can request an estimate for your specific situation whenever you're ready.
FAQ
Why is my drywall cracking in the corners?
Corner cracks usually come from lumber shrinkage, seasonal framing movement, or humidity changes that flex the joint where two panels meet. Recurring cracks in the same spot often point to ongoing structural movement or a nearby moisture source rather than a one-time event.
How can I fix cracks in my drywall inside corners?
For a simple hairline crack, open it slightly, embed cross-fibered paper tape in a base coat of compound, then apply two feathered finishing coats before sanding and priming. For a crack that keeps returning, a flexible expansion-joint corner product or a full panel replacement is the more durable route.
When should I worry about cracks in drywall?
Worry when a crack widens over time, reappears after repair, or coincides with doors and windows that stick, since these suggest framing movement rather than cosmetic settling. Swelling, soft spots, or a musty smell mean the board may hold hidden moisture or mold, per EPA guidance, and should be addressed before patching.
How do you fix corner gaps in drywall?
Small gaps at an inside corner are typically filled using the same paper-tape and multi-coat compound process used for cracks, feathering each coat roughly 2 inches beyond the last. Wider or recurring gaps often need a flexible corner product or a panel replacement rather than repeated patching.
Sources
Recommended
Dealing With Something Similar?
Every property is different, but if this sounds like what you’re seeing, we’re happy to take a look and help you figure out what’s actually going on.