General Contracting
Fixing Downspout Drainage Around Your Home for Good
By Noah Spagnotti
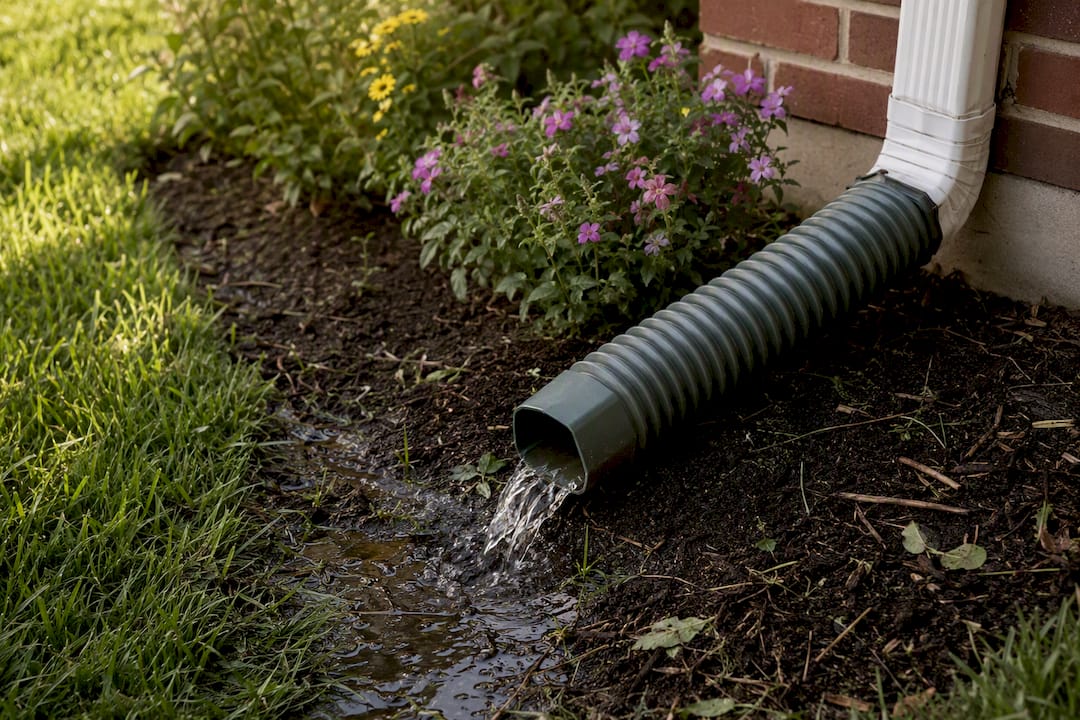
For most homes, a splash block or flexible extension solves the immediate problem, moving water 4 to 6 feet away from the foundation within minutes. The permanent fix is a buried 4-inch solid PVC line running to a pop-up emitter, sloped at 1/4 inch per foot so water drains and doesn’t sit in the pipe.
Right now: attach a splash block or a snap-on flexible extension.
Permanent: trench and bury solid PVC to daylight or a pop-up emitter.
Sizing: aim for 1 square inch of downspout per 100 square feet of roof area, with outlets no more than 35 feet apart.
Call a pro for deep trenching, repeated basement seepage, or regrading work near the foundation.
Most downspout problems are simple mechanical fixes, not mysteries. The trick is matching the right solution to how much water your roof actually sheds, not just grabbing whatever extension is cheapest at the hardware store.
Key Takeaways
Solving most downspout drainage problems comes down to three moves: extend discharge at least 6 feet from the foundation, size downspouts using the 1 square inch per 100 square feet rule, and bury solid PVC rather than corrugated pipe for any permanent run.
Point | Details |
|---|---|
Fix the easy problem first | A splash block or flex extension moving water 4 to 8 feet solves most minor pooling immediately. |
Bury PVC, not corrugated | Solid 4-inch PVC resists silting long-term; corrugated pipe is fine only for short above-ground transitions. |
Size before you dig | Apply 1 square inch of downspout per 100 square feet of roof, with outlets spaced 35 feet apart. |
Slope is non-negotiable | Every buried run needs a steady 1/4 inch per foot slope to a pop-up emitter or daylight. |
Know your limit | Hire Spagnotti Contracting for repeated basement seepage, major trenching, or grading tied to a larger exterior project. |
Table of Contents
Downspout Drainage Solutions for Quick Discharge
How Do You Bury a Downspout Drain Line Properly?
Which Pipe Material Actually Holds Up Underground?
Downspout Sizing: How Many Do You Actually Need?
DIY Checklist vs. When to Call a Contractor
Keeping Your Drainage System Working Season After Season
When to Bring In a Professional for Drainage Work
Do Downspout Fixes Affect Rainwater Harvesting or Your Yard?
The Case for Boring, Reliable Drainage Over Clever Drainage
Get Professional Help With Your Gutter and Drainage System
Sources
Downspout Drainage Solutions for Quick Discharge
Not every downspout needs a buried pipe and a permit. If water is pooling near your foundation right now, the fastest path to relief is a surface discharge option you can install this weekend.
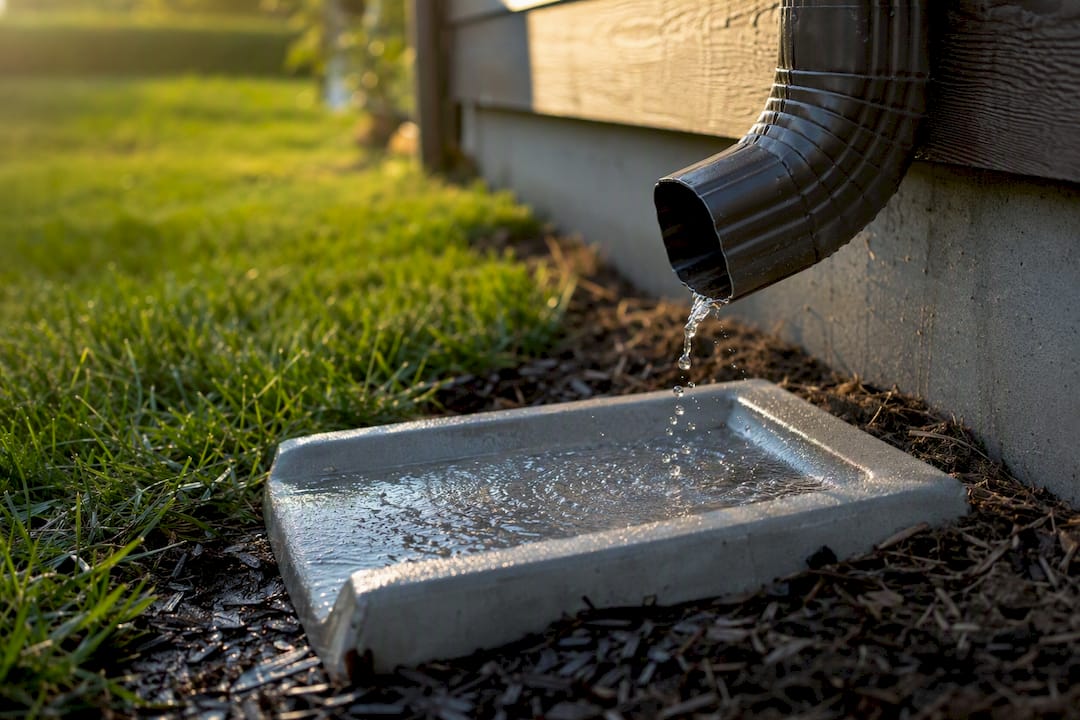
Splash blocks are the cheapest starting point. A concrete or plastic block set under the downspout outlet directs water 18 to 24 inches away, which helps but often isn’t far enough to clear a foundation with poor grading. They work best on homes where the ground already slopes away from the house and you just need to stop splashback from eroding mulch beds.
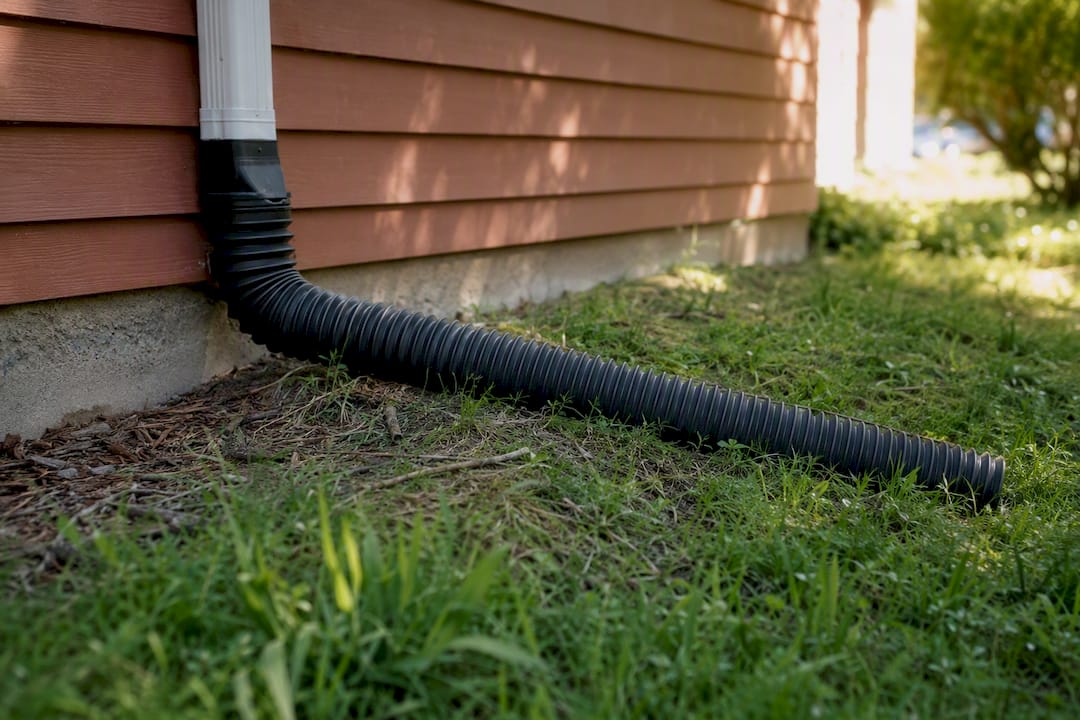
Flexible extensions do more work. Fold-out accordion styles and roll-up fabric versions both push discharge 4 to 8 feet from the house, and they typically cost $10 to $25. The trade-off: they collect leaves and grit in every fold, they get run over by mowers, and fabric versions sag over a season or two. If you use one, plan to hose it out monthly during fall.
Rain chains look great and channel water down visibly, but they’re not a drainage system on their own. A rain chain still needs a functional catch basin or splash block at its base, or you’ve just moved the puddle problem a few feet.
For a middle-ground option, a short buried run (10 to 15 feet) connecting to a nearby pop-up emitter beats a flex extension for looks and durability, without the cost of a full trenched system.
Pro Tip: Test any surface extension during an actual rainstorm, not with a garden hose. Heavy downpours reveal whether water backs up at the joint or overshoots the extension entirely.
How Do You Bury a Downspout Drain Line Properly?
A buried line is the closest thing to a permanent fix for chronic wet-basement or soggy-yard problems, and it’s not a complicated project once you understand the three things that make it work: pipe size, slope, and where the water ends up.
Use 4-inch solid PVC, not perforated pipe. Perforated pipe is designed to let water leak into surrounding soil, which is exactly what you don’t want next to a foundation. Solid-wall pipe carries water to its exit point instead of dumping it along the way.
Slope the trench at 1/4 inch per foot. A 20 foot run needs about 5 inches of drop from inlet to outlet. Too flat and sediment settles inside the pipe; too steep and you’re digging deeper than necessary.
Terminate at a pop-up emitter, a dry well, or daylight at least 6 feet from the house. Pop-up emitters open under water pressure and snap shut when dry, which keeps mulch, mice, and backflow out of the line.
A Flo-Well or similar dry well works when you have no slope to daylight and need the water to infiltrate on-site instead. French drains solve a different problem entirely: they intercept groundwater along a trench line rather than carrying a single point source, so don’t confuse the two.
DIY materials for a 20 to 30 foot run typically run $150 to $400. Professional installation costs more but avoids the two failure modes homeowners hit most often: pipe crushed by poor backfill compaction, and silt buildup from skipping the slope math.
Which Pipe Material Actually Holds Up Underground?
Corrugated black flex pipe is what most big box stores stock, and it’s tempting because it’s cheap and bends around obstacles without fittings. The problem shows up two or three years later: the ridged interior traps silt, and a pipe that once flowed freely now backs up every time it rains hard.
Solid-wall PVC costs a little more upfront but has a smooth interior that lets sediment wash through instead of settling. For any run you’re burying and don’t plan to dig up again, PVC is worth the extra few dollars per foot.
Corrugated flex: fine for short above-ground transitions of a few feet, not for buried runs.
Solid PVC: the standard for anything going in the ground long-term.
Match your outlet size to your downspout size. A 2x3 downspout needs a properly sized adapter, not a fitting jammed in with tape.
If you’re stuck using corrugated pipe for a tight bend, add a sediment trap or inline cleanout so you can flush it out without digging up the yard.
Downspout Sizing: How Many Do You Actually Need?
Undersized downspouts are the most common reason gutters overflow during a real storm even though everything looks fine on a dry day. The fix usually isn’t a bigger gutter. It’s the downspout math.
Calculate your roof area feeding each downspout, then apply the standard rule: 1 square inch of downspout cross-section per 100 square feet of roof draining to it.
Compare capacity. A standard 2x3 downspout handles roughly half the water volume of a 3x4 downspout, so upsizing is often the cheapest fix for a chronically overflowing section, and you usually don’t need to replace the whole gutter run to do it.
Keep spacing tight. Outlets should sit no more than about 35 feet apart, placed at low points and corners, and never dumping directly onto a walkway or door threshold.
Run a simple check yourself: watch the downspout during a hard rain. If water sheets over the gutter edge upstream of the outlet, that section is undersized or the outlet is too far away.
Pro Tip: Measure the actual roof section draining into your worst-performing downspout before you assume the whole gutter system needs replacing. Often it’s one undersized outlet doing the work of two.
DIY Checklist vs. When to Call a Contractor
A basic splash block or short buried run is genuinely doable in an afternoon. You’ll need a level or string line to confirm slope, a spade or trenching shovel, solid PVC pipe and couplers, a pop-up emitter, and gravel for the emitter bed.
Confirm existing grade slopes away from the foundation.
Dig a trench holding a consistent 1/4 inch per foot slope to your discharge point.
Lay the pipe, connect it to the downspout with the correct adapter, and install the emitter slightly above the trench bottom so it self-flushes.
Backfill and tamp gently to avoid crushing the pipe.
Watch for these mistakes: tying a downspout into a footing or floor drain (a common and unsafe shortcut), skipping slope verification, and using corrugated pipe for anything longer than a short transition.
Call a contractor when trenching runs longer than 30 feet, crosses hardscape, or when you’ve already tried surface fixes and still get basement seepage. A solid bid should spell out pipe material, depth, termination point, and grading work, not just a lump labor number.
Keeping Your Drainage System Working Season After Season
Check performance during an actual storm, not after. Look for water pooling within 6 to 10 feet of the foundation or overflow at the gutter seams. Flush buried runs annually with a garden hose; if water backs up, a plumber’s snake through the cleanout usually clears the blockage before it becomes a bigger dig.
Clean leaf guards each fall; a clogged guard sends more debris into the downspout than no guard at all.
Watch buried lines in winter. Any low spot without continuous slope traps water that freezes, expands, and can split the pipe.
If a section stays wet longer than the rest of your yard after rain, that’s your first sign of a partial clog.
When to Bring In a Professional for Drainage Work
Some situations go beyond a weekend project. If you’re seeing repeated basement seepage, dealing with a yard that needs real regrading, or planning a buried run that crosses a driveway or utility line, that’s when professional installation pays for itself.
Spagnotti Contracting handles gutter and downspout work as part of full exterior projects across the Omaha metro, with the same detailed planning and clear communication applied to a drainage fix as to a full re-roof. An inspection should identify where water is actually entering, document the grading and slope issues driving it, and lay out a written plan before any digging starts.
Persistent water in the basement after heavy rain
Complex trenching near driveways, patios, or utility lines
Grading changes that affect neighboring drainage
Coordinating gutter replacement with a larger roofing or siding project
Do Downspout Fixes Affect Rainwater Harvesting or Your Yard?
Directing water away from your foundation and using it productively aren’t opposing goals. A downspout diverter valve lets you route flow to a rain barrel during dry spells and switch back to your buried drainage line once the barrel’s full, so you’re not choosing between harvesting and protection.
The bigger consideration is where your discharge point sends water once it leaves the pipe. A pop-up emitter dumping onto a slope that drains toward a garden bed can double as passive irrigation, cutting how often you water nearby plants. Dumping onto bare soil or a low spot with no vegetation, though, just relocates erosion instead of solving it.
Soil type matters here too. Sandy soil absorbs discharge quickly, which makes dry wells and infiltration trenches more effective. Heavy clay soil, common across much of the Midwest, drains slowly and holds water near the surface, which favors sending discharge farther from the house rather than trying to infiltrate it close by.
If you’re landscaping around a discharge point, keep at least a few feet of buffer with hardy, water-tolerant plants rather than turf grass, which struggles with the periodic soaking. And skip decorative gravel beds directly under an emitter. They look tidy for a season, then silt in and stop draining, defeating the purpose of the whole system.
The Case for Boring, Reliable Drainage Over Clever Drainage
Most downspout advice online sells complexity: elaborate French drain networks, decorative dry creek beds, multi-zone rainwater harvesting setups. Skip that instinct. The homes that stay dry are the ones with boring, well-sloped PVC doing exactly one job.
Where I think conventional advice actually fails homeowners is the sizing conversation. Most articles jump straight to “add a French drain” when the real problem is a single undersized downspout that’s been overflowing for years. Do the square-footage math before you touch a shovel. It’s free, it takes ten minutes, and it solves a surprising number of “mystery” wet basement complaints without any digging at all.
The other place people cut corners is pipe material, and it’s the one place cheap actually costs more. Corrugated pipe buried in the yard is a problem you’re scheduling for three years from now, not a solution. If you’re only going to dig a trench once, put solid PVC in it.
Prioritize sizing first, materials second, and aesthetics dead last.
— Noah
Get Professional Help With Your Gutter and Drainage System
DIY fixes handle a lot, but not every yard cooperates. If your lot has poor natural slope, a finished basement worth protecting, or a drainage problem that’s outlasted two summers of splash blocks, that’s a different category of project than a Saturday afternoon fix.

Spagnotti Contracting handles gutter and downspout work the same way it handles roofing, siding, and basement finishing projects across the Omaha metro: with a documented plan before any digging starts, not a guess about where water is coming from. That matters most when a downspout problem turns out to be tied to something bigger, like grading that affects a whole side of the house or a basement that’s already showing water damage. Rather than patching one symptom, you get a proposal that addresses the actual cause and coordinates with any other exterior work you’re planning. If chronic wet spots or basement seepage have you past the DIY stage, request an estimate through the Spagnotti Contracting services page and get a written plan before the next storm.
Sources
Recommended
Dealing With Something Similar?
Every property is different, but if this sounds like what you’re seeing, we’re happy to take a look and help you figure out what’s actually going on.